
Tours: Advanced Features
Product Fruits supports several advanced tour configuration methods that allow more precise control over tour triggering and interaction. This guide covers different techniques for starting tours programmatically, including triggering tours on specific element clicks, sharing tours via URL parameters, adding custom buttons to tour cards, and using JavaScript to control tour behavior. These methods enable developers to create more flexible tour experiences by integrating tours directly with application logic and user interactions.
Share Product Tours by Link
Tours can be shared or sent by a link. This works by sending your users a link to the page where the tour starts, and appending a query parameter to the end of it that willl tell Product Fruits to try to start a specified tour. Product Fruits needs to be installed into the application for this to work.
How to Create a Shareable Tour Link
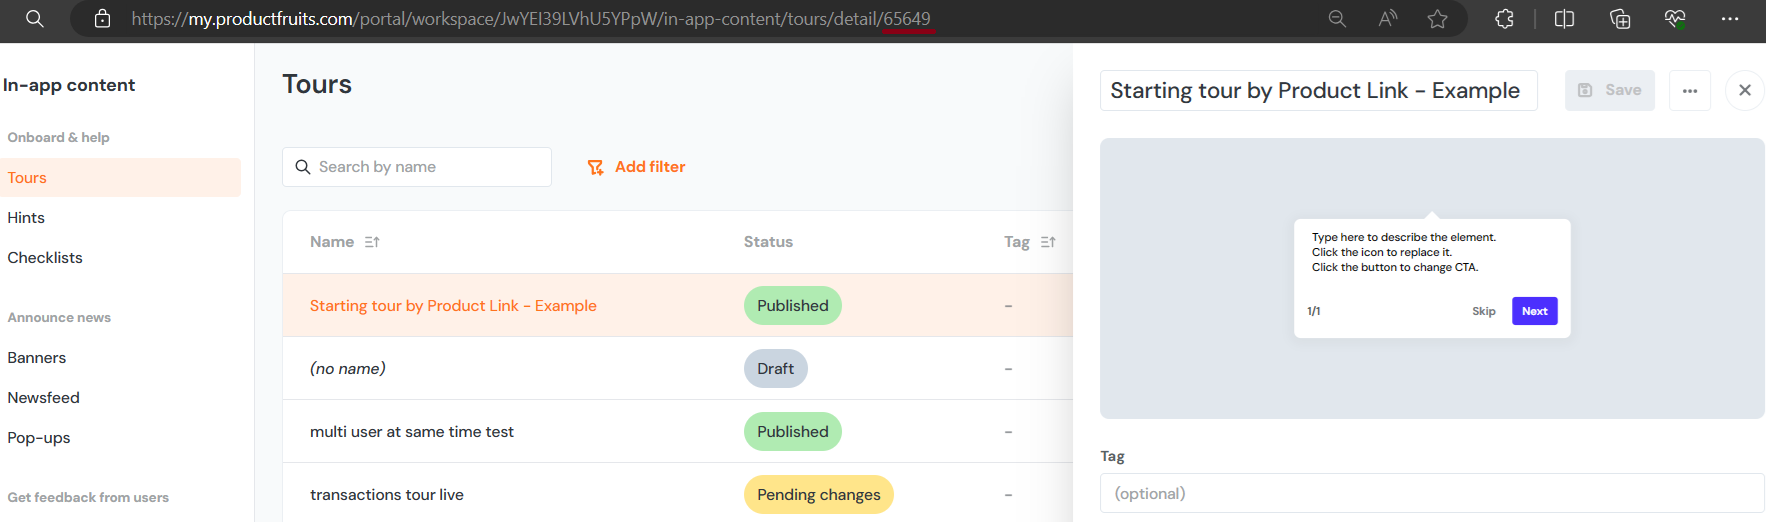
- To start, you'll need to get the ID of the tour you're looking to share by link. The easiest way to do this is to navigate to the tour in the Product Fruits administration. Once you've done this, the tour link can be found in the URL of the page. For example if you've opened the tour settings by clicking on the desired tour, and the browser URL reads:
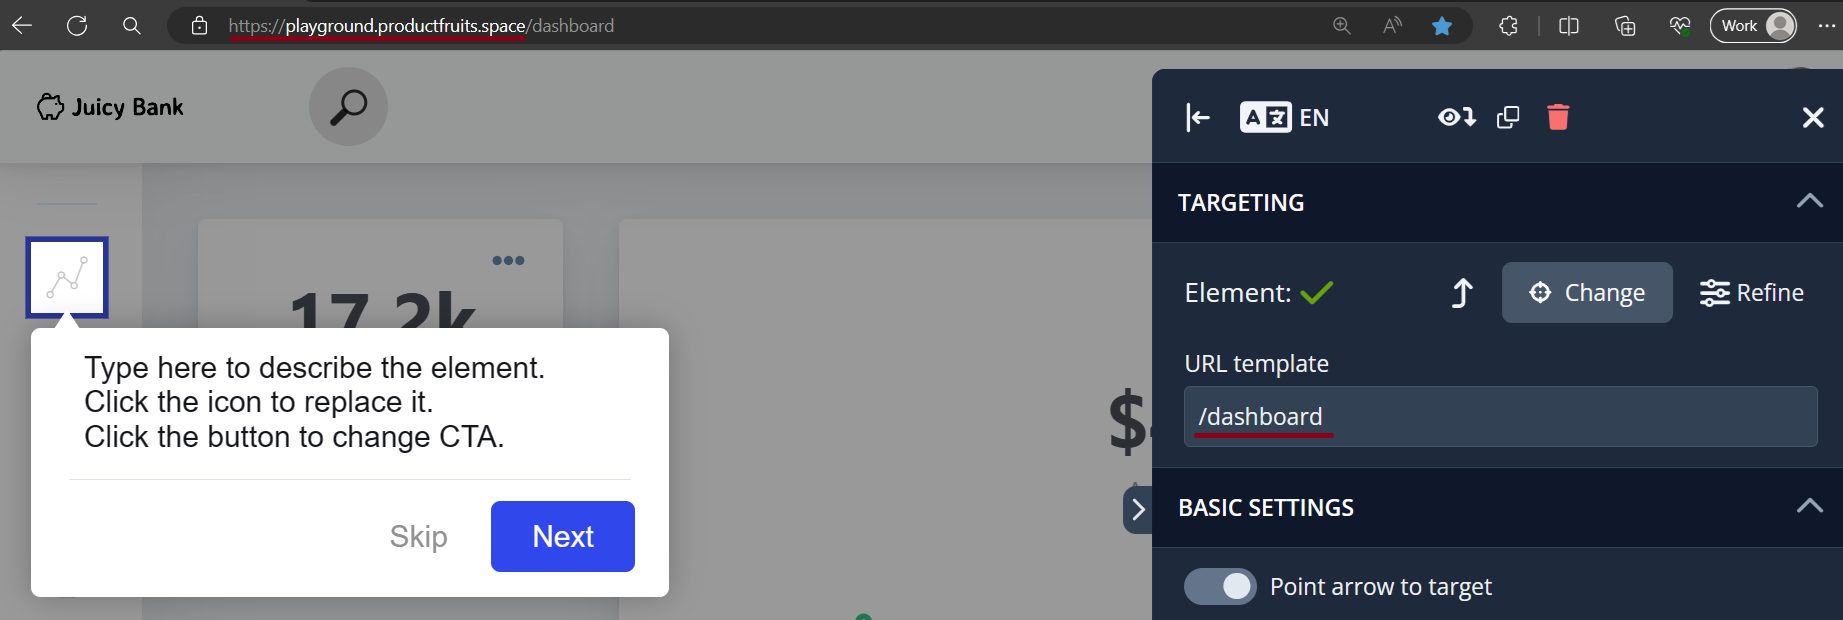
https://my.productfruits.com/portal/workspace/xxxxxxxxxxxx/in-app-content/tours/detail/65649then the tour ID is 65649. - Next, we'll need the URL that the tour normally starts on. You can get this by launching the editor and checking the URL template of the first step of the tour. Chances are this will be a relative URL (not including the domain name), so you'll need to prepend that to the beginning. To continue our example from above, if the domain is
https://playground.productfruits.spaceand the tour is meant to start on the/dashboardpage, then the URL where the tour starts ishttps://playground.productfruits.space/dashboard. - Finally we take the URL that we got in the last step and append the
?pf_start_tour=TOURIDquery parameter to the end of it, replacing TOURID with the tour id that we found in the first step. So, to finish the example, we would send usershttps://playground.productfruits.space/dashboard?pf_start_tour=65649. Unfortunately, if you follow this url a tour won't actually start as Product Fruits isn't installed into this page.
Possible Issues
If your application routing is removing query parameters (e.g. there is redirect/URL rewrite triggered by your application) before Product Fruits is loaded, the tour will not start. In these cases, we are not able to detect the pf_start_tour parameter.
Launching Tours on Element Click
This is an experimental Boost feature!
It's possible to set your tour to start when an element on your page is clicked. Perhaps you have a button in your page that you want to use.
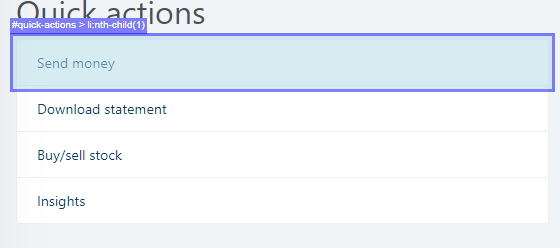
All you need to do is to target the page element you want using a CSS selector. As an example, this is what a selector can look like: #quick-actions > li:nth-child(1).
Targeting the Trigger Element
The easiest way to find the CSS selector of an HTML element is with our editor, which we also go over in this article.
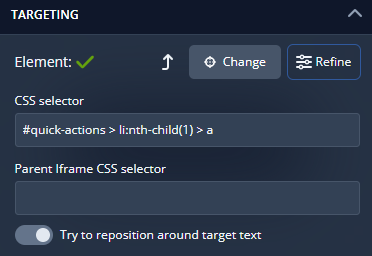
The editor section you'll need for this step is the first one, Targeting.

Clicking the Change button will open up an interface which shows borders around your elements when you hover over them, previewing their CSS selectors. It will look something like this:
Clicking the highlighted element will select it as the target. You can also click the Refine button to see the full of name of the CSS selector you just targeted. Make sure you save this change, but don't publish it yet.
Setting the Tour to Start When the Element is Clicked
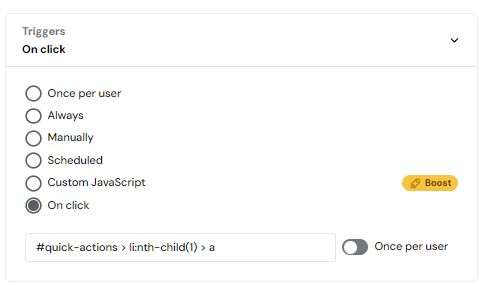
It is specifically this selector that you must enter in the administration of your tour to set the element as the tour's trigger. Simply copy and paste it into the CSS selector text area, under Triggers > On Click.
Save and publish your changes before returning to the editor, and publish your changes there as well. Now your tour trigger should be set up.
The order of completion is important here, because publishing changes made in the editor before the ones in the administration can cause conflicting versions of your tour and overwrite (or even reverse) the administration settings you set. Also note that you don't have to use the same selector or page element to start the tour that the initial step of the tour is attached to. This is just the simplest way to explain the feature.
Custom Buttons
This is a Boost feature and is not currently available for all accounts.
If you want to execute a custom action after the user clicks on a custom button in tour/hint cards, this article will explain how to do that.
Add a Custom Button
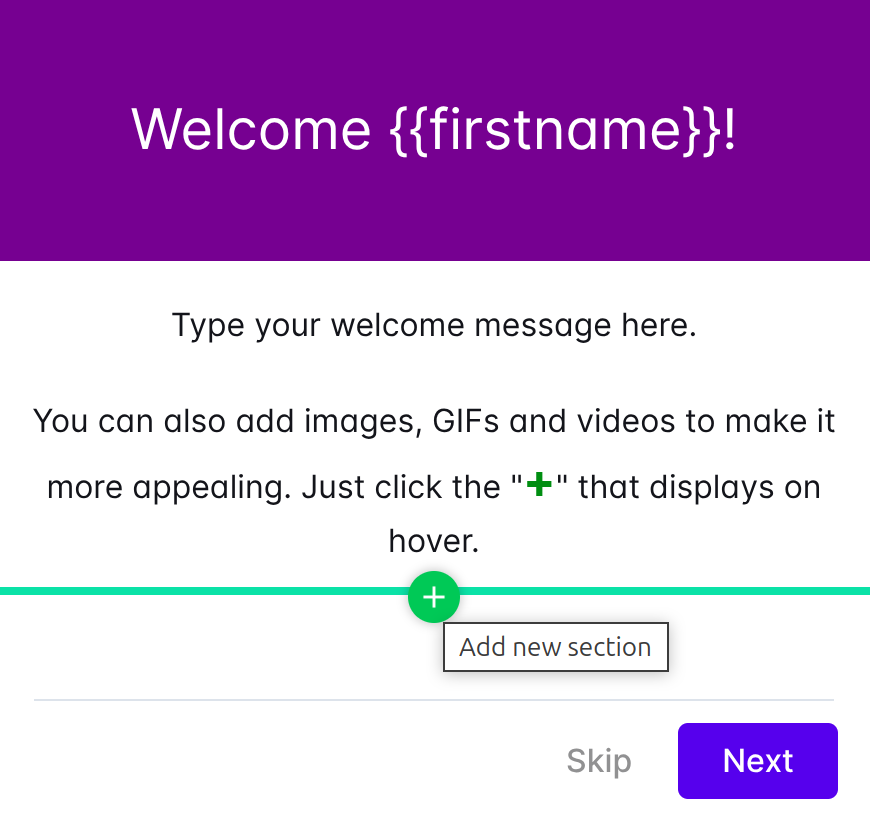
To add a custom button to a card, you'll need to add a new section using the green plus icon and selecting the "Button" option.
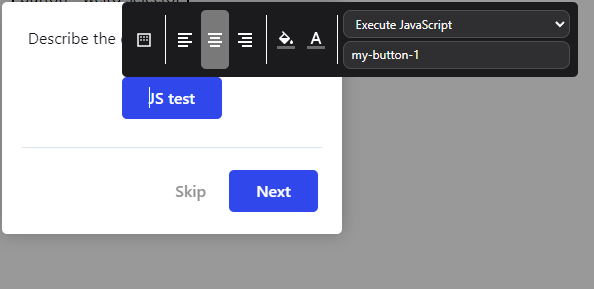
After adding the button, select the "Execute JavaScript" action. You will need to insert the identification of the action, which can be any string. You will need this identifier later in your JavaScript code.
Handle the Action in Your Code
Then, somewhere in your code, you must listen for the productfruits_card_custom_btn_click event. You will get the identifier (that you set in the previous step) as the event parameter. For example:
window.addEventListener('productfruits_card_custom_btn_click', (e) => {
	if (e.detail.id == 'my-button-1') {
		window.productFruits.api.tours.advanceToNextStep(123456);
	}
});
As you can see, we checked if the identifier of the button is equal to what we set before and then we used Product Fruits JS API to advance the tour to the next step.
Custom JavaScript Triggers
This feature is available in the Boost plan, and can be disabled upon request
If you need a tour to be launched in an advanced scenario such as a specific select item being selected or a date picker being set to a specific date, you can use custom JavaScript triggers. This feature requires JavaScript knowledge.
Be careful, and only insert trusted, well-tested scripts. Otherwise, this might cause security issues or break your application.
Setup
Go to Tours, click on the tour you want to trigger for a specific scenario, and switch the Trigger selector to Custom JavaScript.

JavaScript Helpers
We have prepared helper functions for you, in order to make writing advanced triggers easier. These helpers are available under the this keyword.
Listen to An Event for A Specific CSS Selector
this.listenEventForSelector(event, selector, callback)Use this helper method if you want to launch the callback when the specified event is triggered on an element with the specified CSS selector.
Start the Current Tour
this.tryStartThisTour(force)This method will try to start the current tour. You don't need to pass the tour ID as you usually would. This method knows the tour for which the trigger is defined. The force parameter will try to launch the tour even if it was finished or skipped by the user previously. The default value is false, which means the tour won't be launched if it was finished or skipped.
JavaScript API Access
this.apiThis object is shorthand for the standard Product Fruits JavaScript API. See our docs for more details.
Example
In this example, we will be listening to the change event on a select element in which we will trigger the tour if the selected option is 123.
this.listenEventForSelector('change', '#my-select-element', (e) => {
    if (e.target.value == '123') {
        this.tryStartThisTour();
    }
});