
Survey branching
Branching
You'll find the option to edit branching just above your question cards on the survey tab. Click it to see the branching system contained inside.
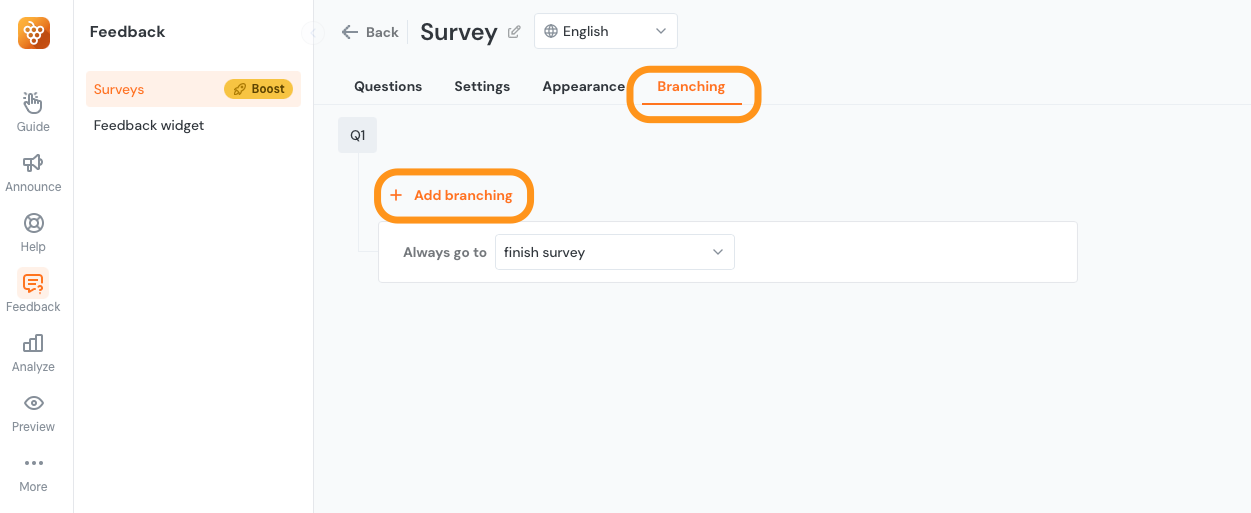
Once you reach the Add branching screen, you should see the list of questions you've created "branching" off from one another as shown in the screenshot below.
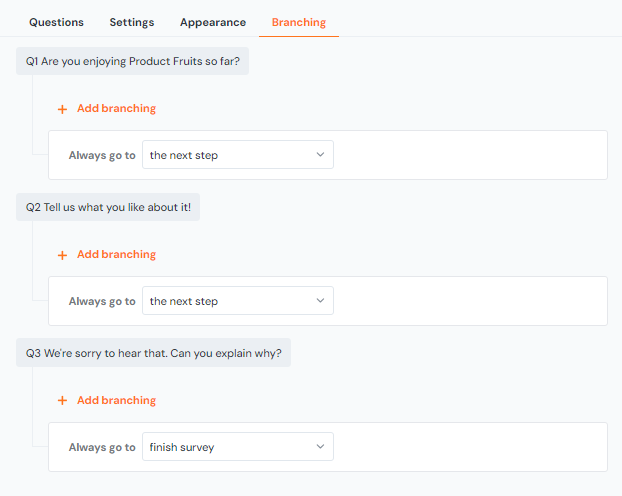
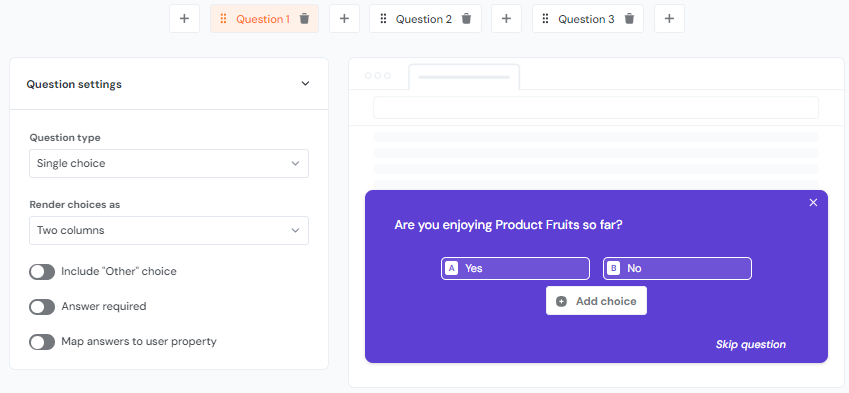
In the example above, Q1 is the first question in our flow, which allows the user to either answer "Yes" or "No" to the question "Are you enjoying Product Fruits so far?". Here's what this question looks like in the survey editor:
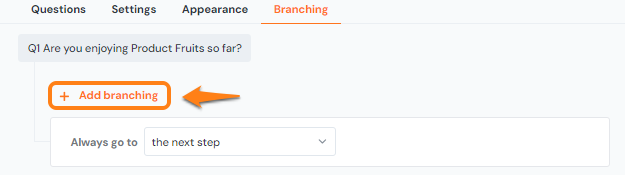
As you might have guessed, if the user answers "Yes" we want to send them to Q2, but if they answer "No" we want to send them to Q3. This is where branching comes in. Back inside the branching editor, we'll need to click the "+Add branching" option for Q1 that we saw in the second screenshot.
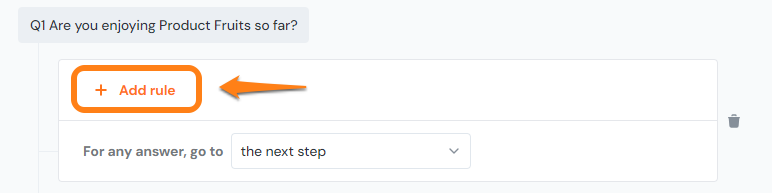
By default, this will create a new branch that leads to the next step, which we'll alter by selecting "+Add rule".
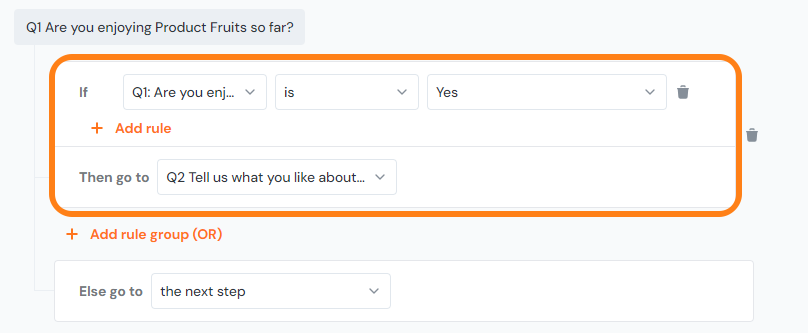
Once you've selected "+Add rule", you'll see that a new set of if-then statements open up for your survey's questions- If the user selects x, then send the user to y. In the case of our example, if the user selects "Yes" to Q1, then send the user to Q2.
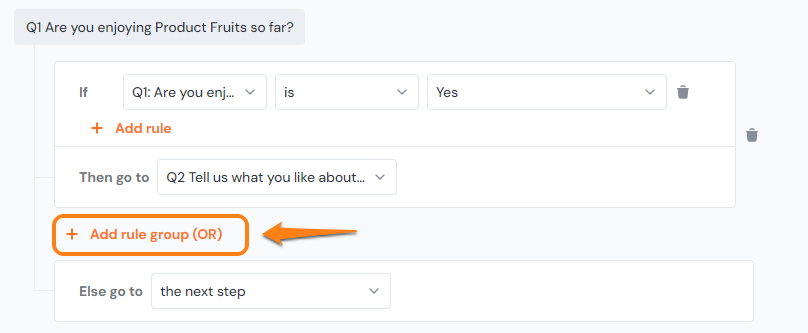
We will then need to create a condition for when the user answers "No" to Q1 by clicking "+Add rule group".
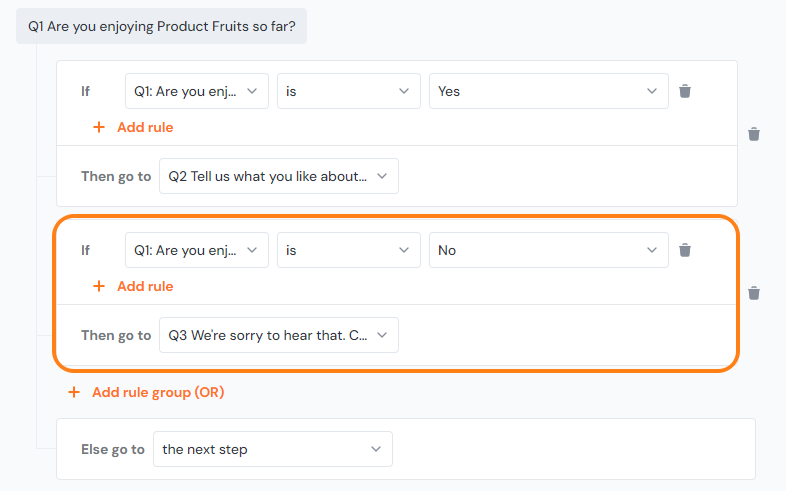
This will allow us to send the user to Q3 instead of Q2 if they choose "No" instead of "Yes".
With this example in mind, you can see how you can create different combinations of question and answers leading to different paths in your surveys. To your users, this will act as one smooth flow from start to finish. Nothing will indicate that they have jumped from one path of the survey to another.