
Knowledge Base Overview
We've utilized our own Product Fruits Knowledge Base for documentation purposes. In fact, we're using it to compose this article 😎
The Knowledge base is a repository of articles organized into Categories. The Help Center is the frontend of your Knowledge base.
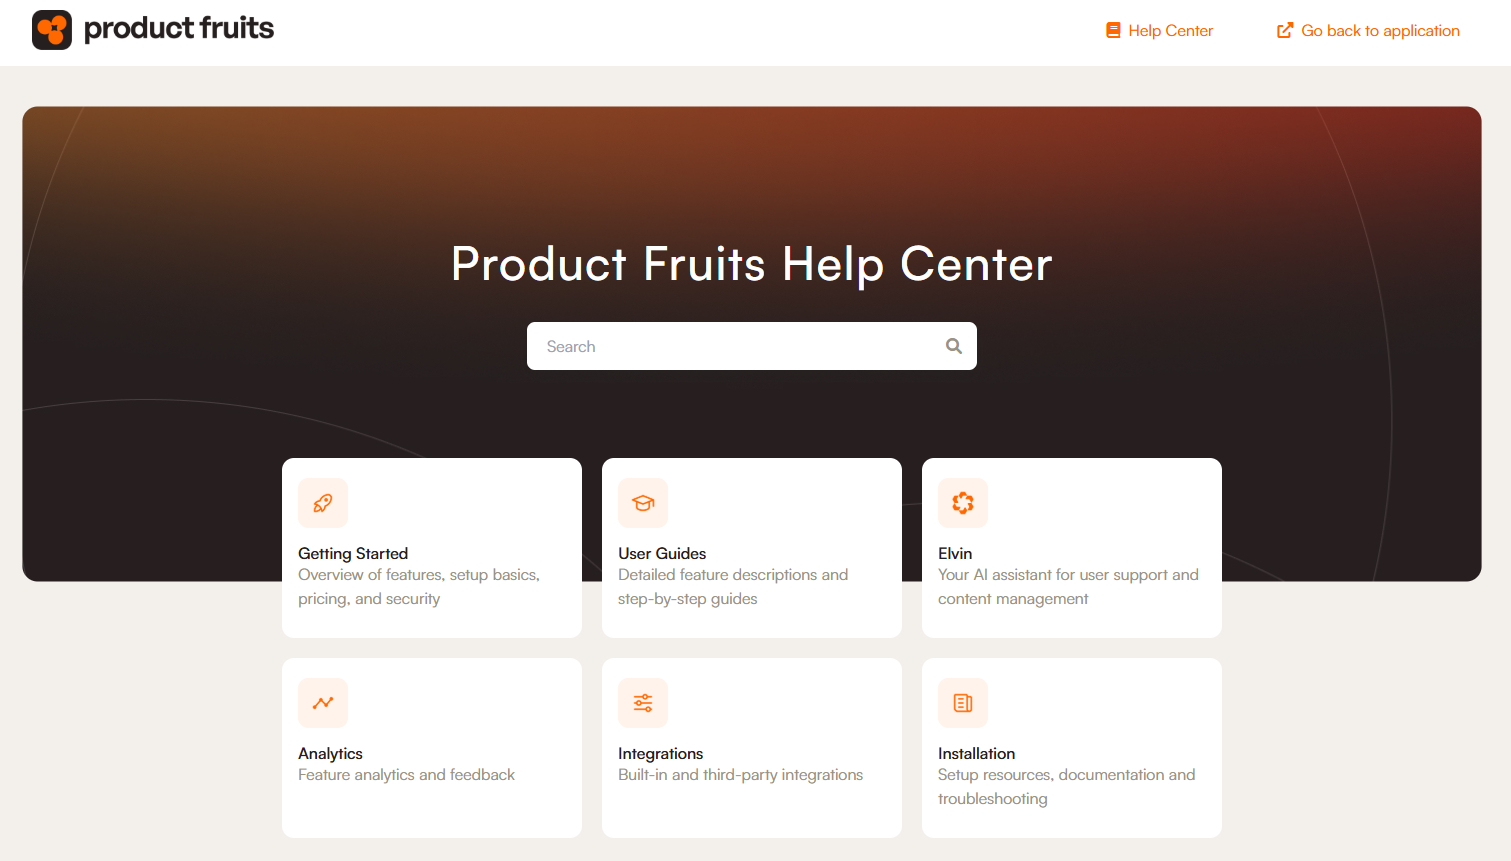
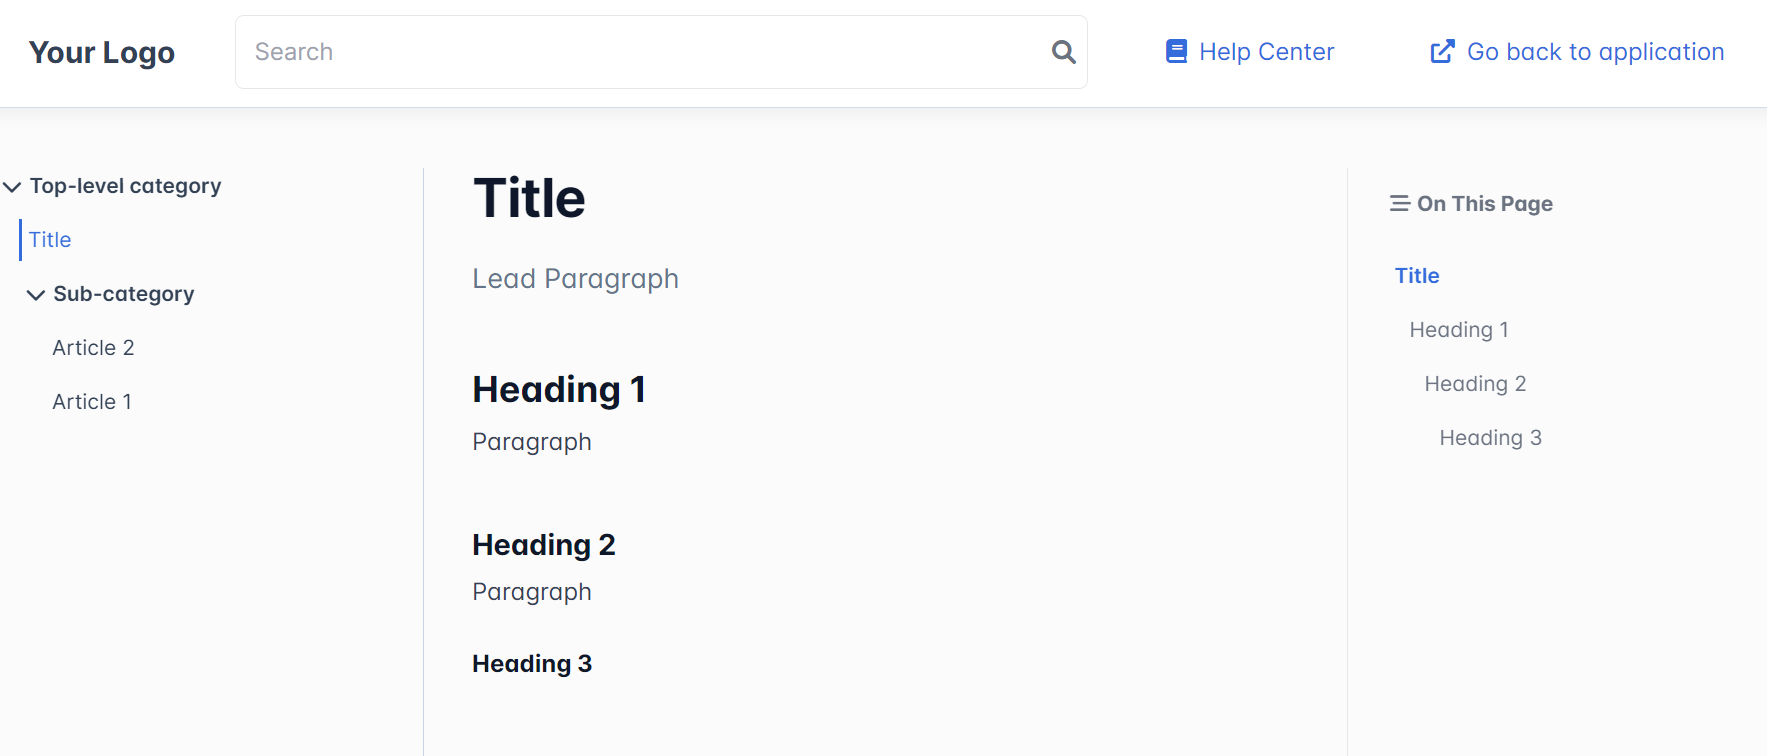
Example of Help Center
Our Product Fruits Help Center is displayed below; it's the frontend of our Knowledge base.
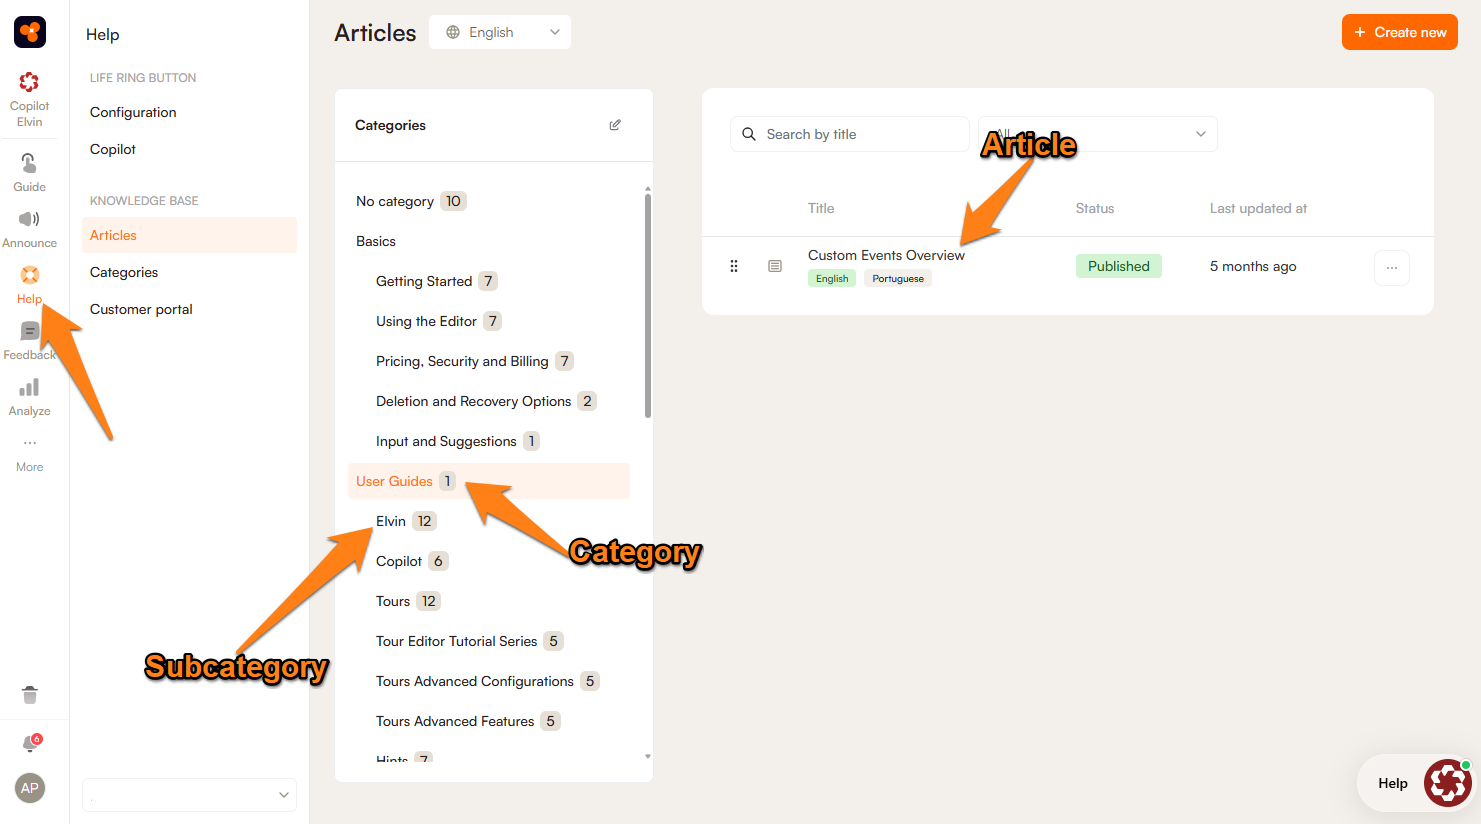
Knowledge base
The Knowledge base is a repository of Articles divided into Categories. Each category can have its own Subcategories. Categories and subcategories can have multiple articles.
Featured Categories and Articles
Featured categories and featured articles will be displayed on the main landing page of the Knowledge Base:
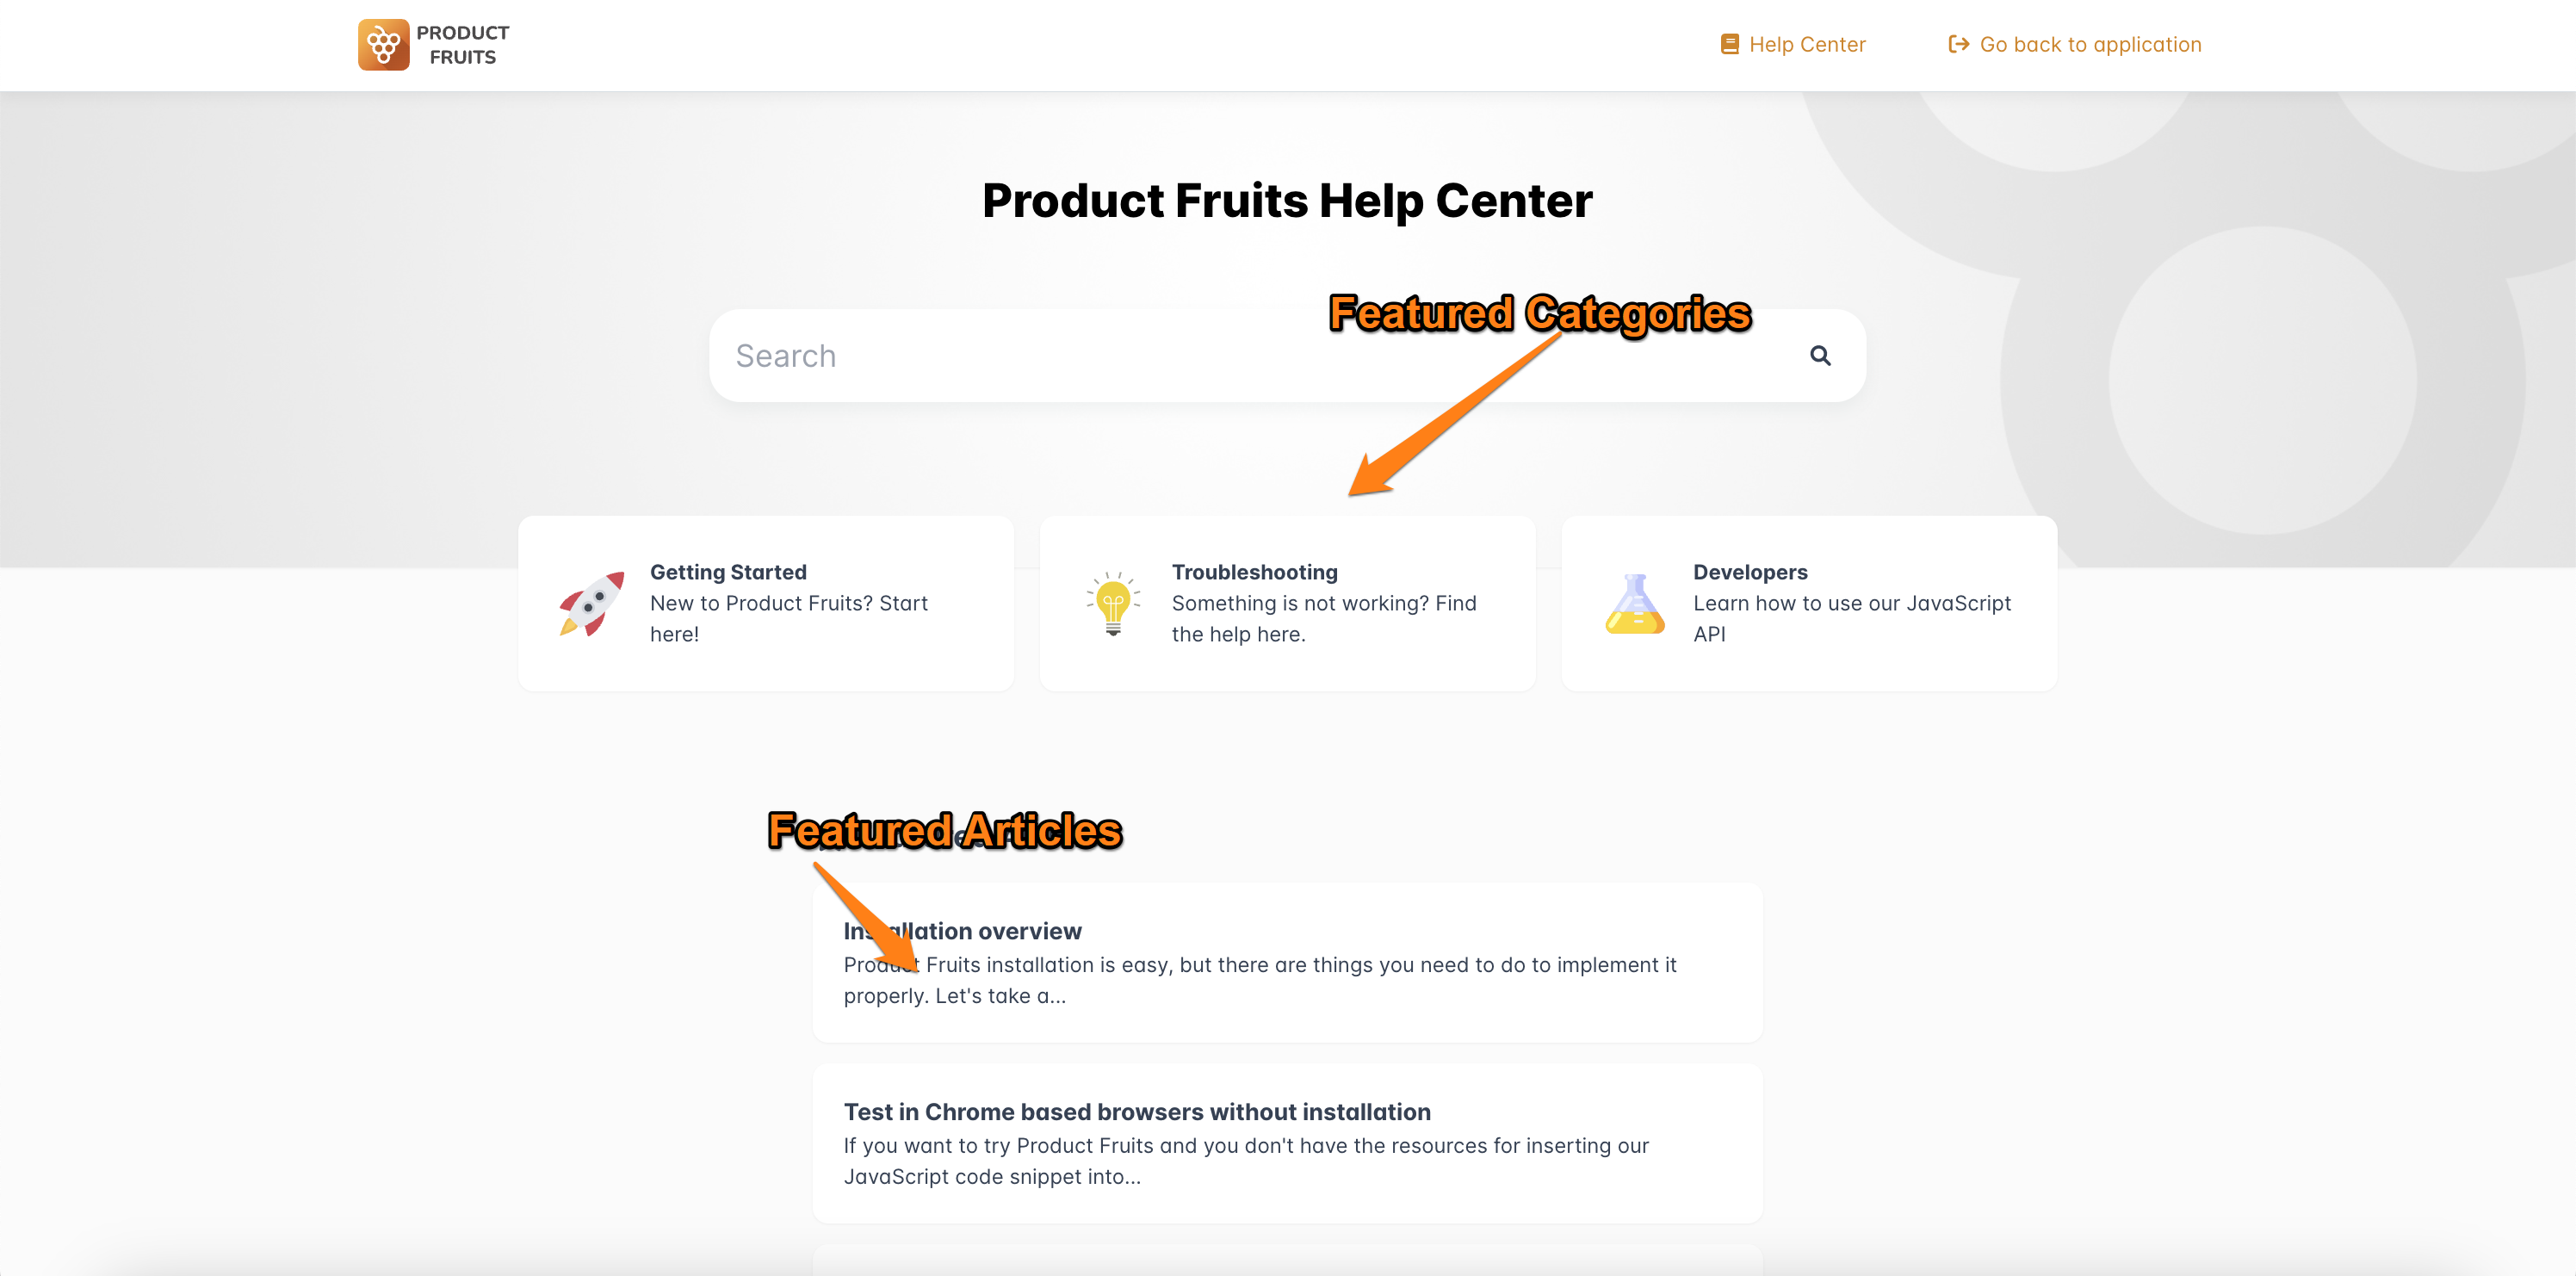
- If no featured articles are selected, some will be randomly selected to display in the featured articles section.
- Featured categories must have an article or they will not display on the landing page. Articles in subcategories will not work for this.
You can fully customize your Help Center by adjusting your Customer Portal settings:
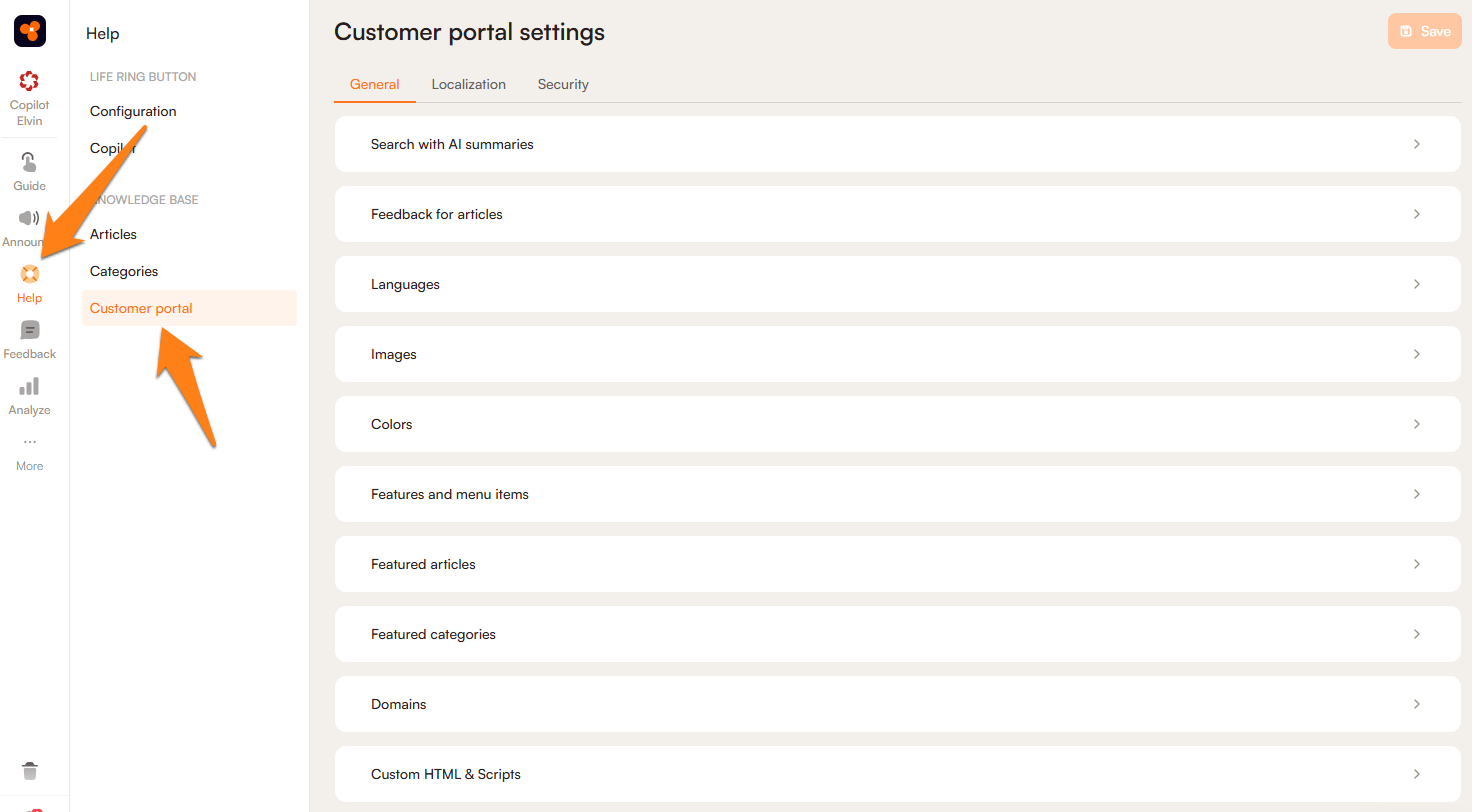
Customer Portal Settings
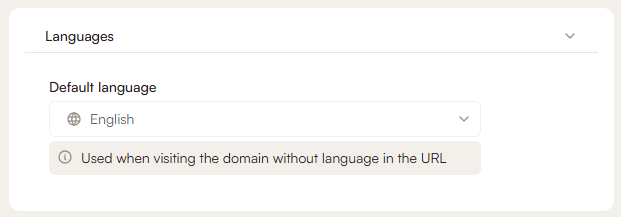
Languages
Choose the default language under the language tab. You must set up supported languages to be able to change this from English.
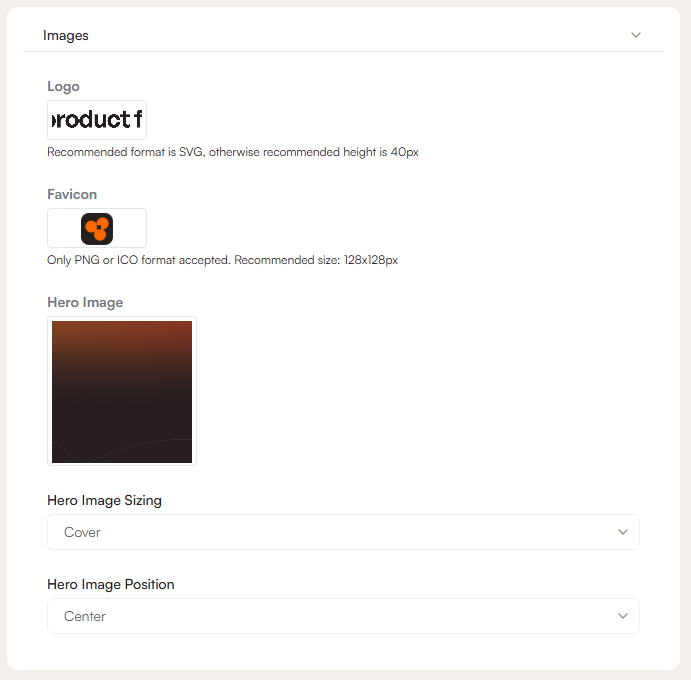
Images
Add Logos, Favicons, Hero images, and configure the hero image sizing and position under the images tab:
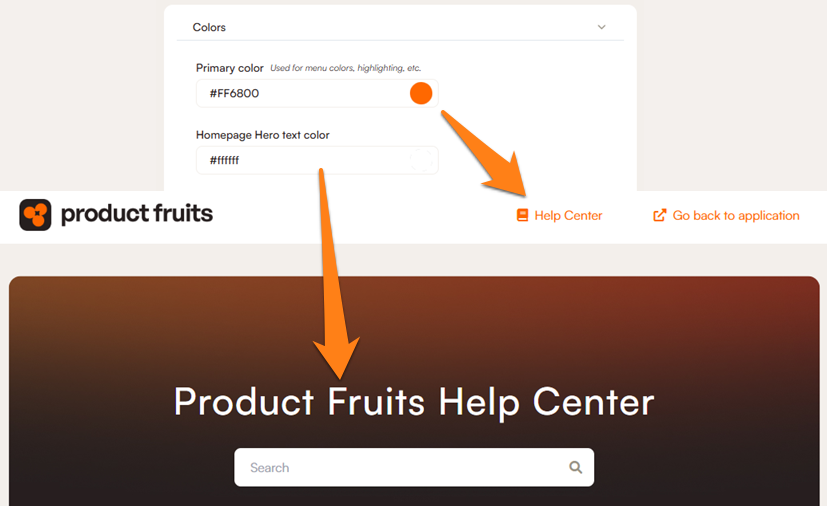
Colors
Add a main color scheme and Hero text color under the colors tab:
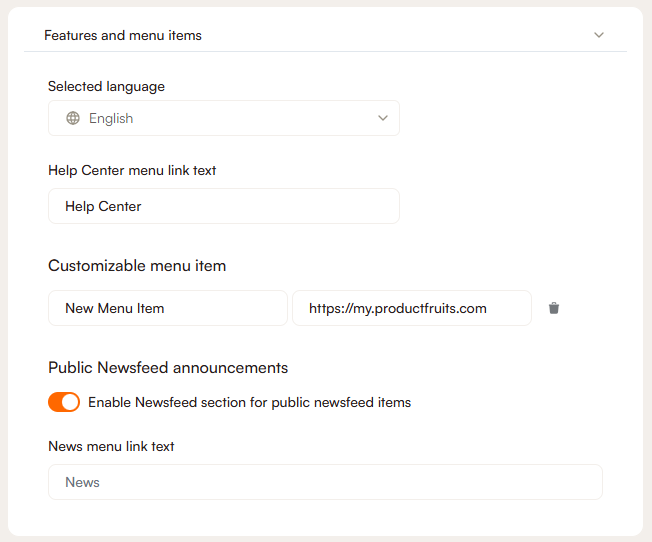
Features and Menu Items
Completely customize the menu and add a new menu item that links to any URL, as well as add your newsfeed to the Knowledge base:

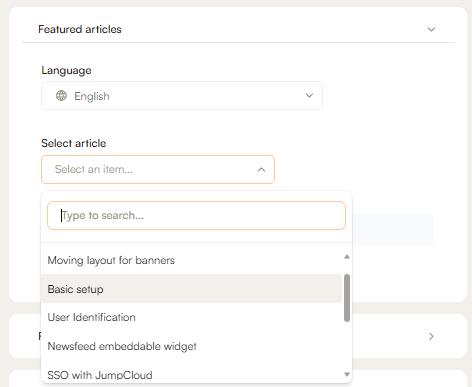
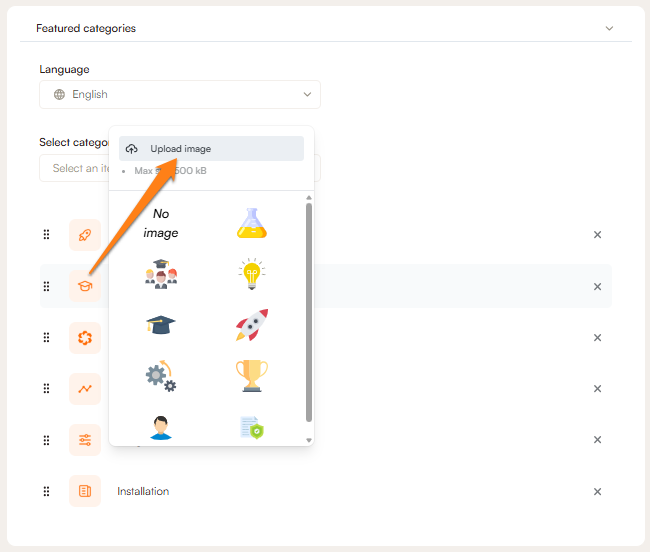
Featured Categories and Articles Setup
Select which articles and categories to display on the customer portal homepage. You can upload an image or select from our default icons to bring attention to the most important information in your Knowledge base:
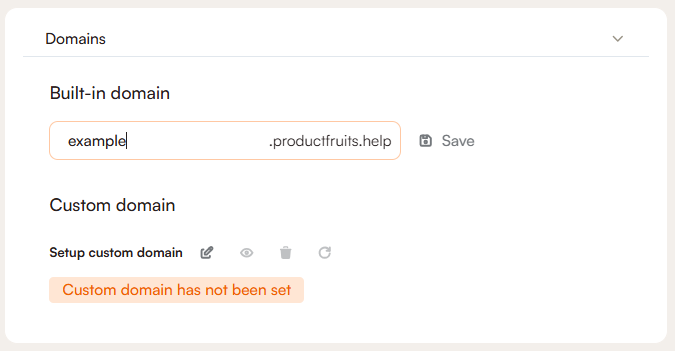
Domains
In the domains tab you can view the URL that can be used to access your knowledge base, as well as set up a custom domain.
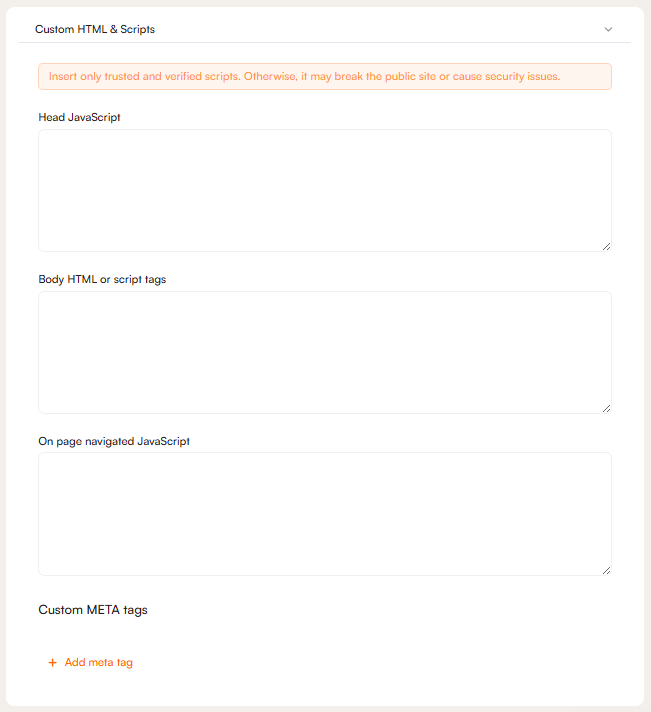
Custom HTML and Scripts
In the Custom HTML and Scripts tab you can apply styling and scripts, such as installing google analytics or other external snippets
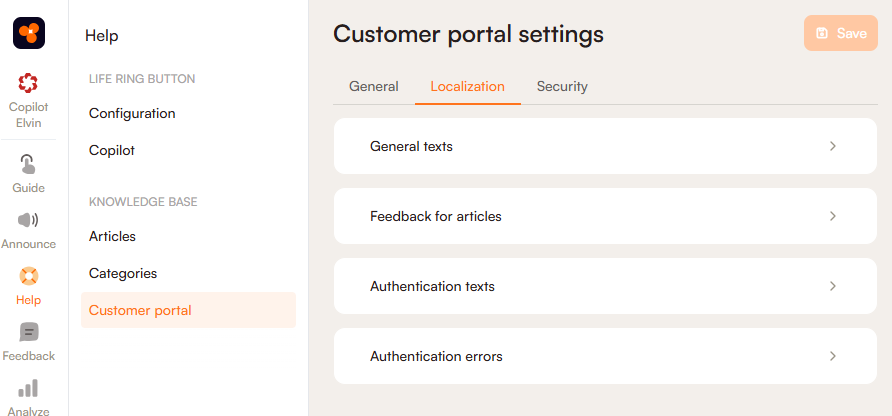
Localization
Customize all of the default texts in the localization tab.
Security
On the security tab, you can secure your knowledge base, add authentication methods, and even add allowed IP addresses.
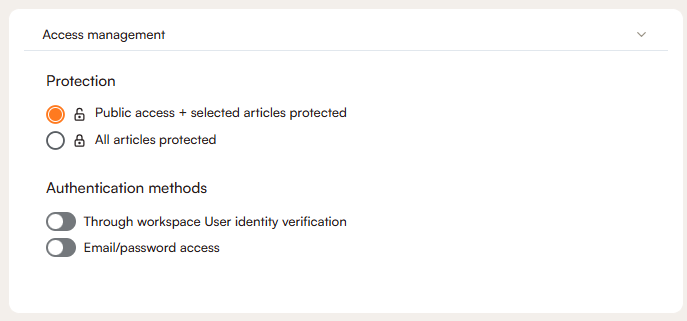
Access Management
Configure how you'd like to secure your knowledge base here. You can choose to secure all or some of your articles, and then choose how users will be authenticated to view these articles.
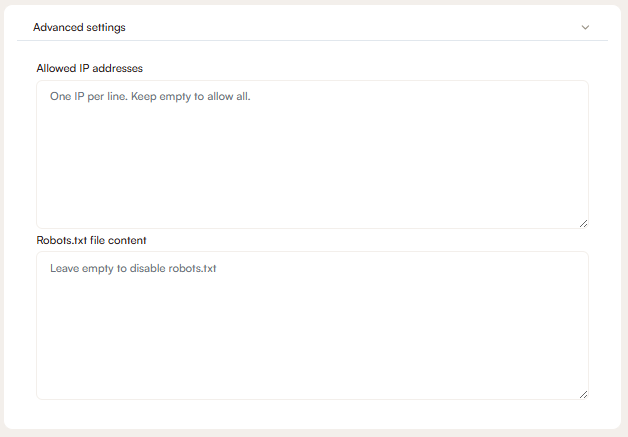
Advanced Settings
Advanced settings is where you can add the allowed IP addresses, as well as add robots.txt content.
Article Editor
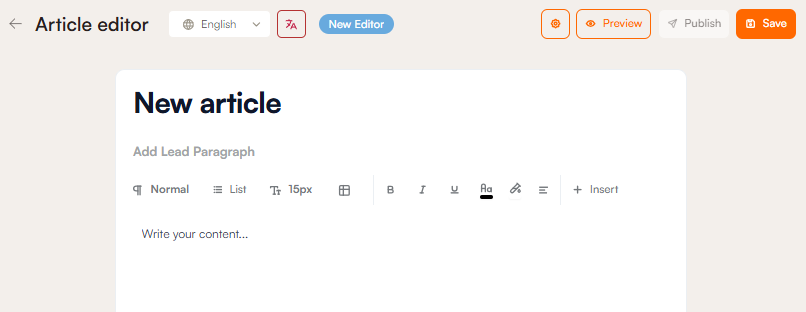
In the article editor, you can not only write the article contents, but add images, tables, videos, and even HTML sections to the article. Ask AI or fully customize the text with different headings and colors.
Using Headings
Headings organize the article automatically on the right side of the page, while categories are organized on the left.
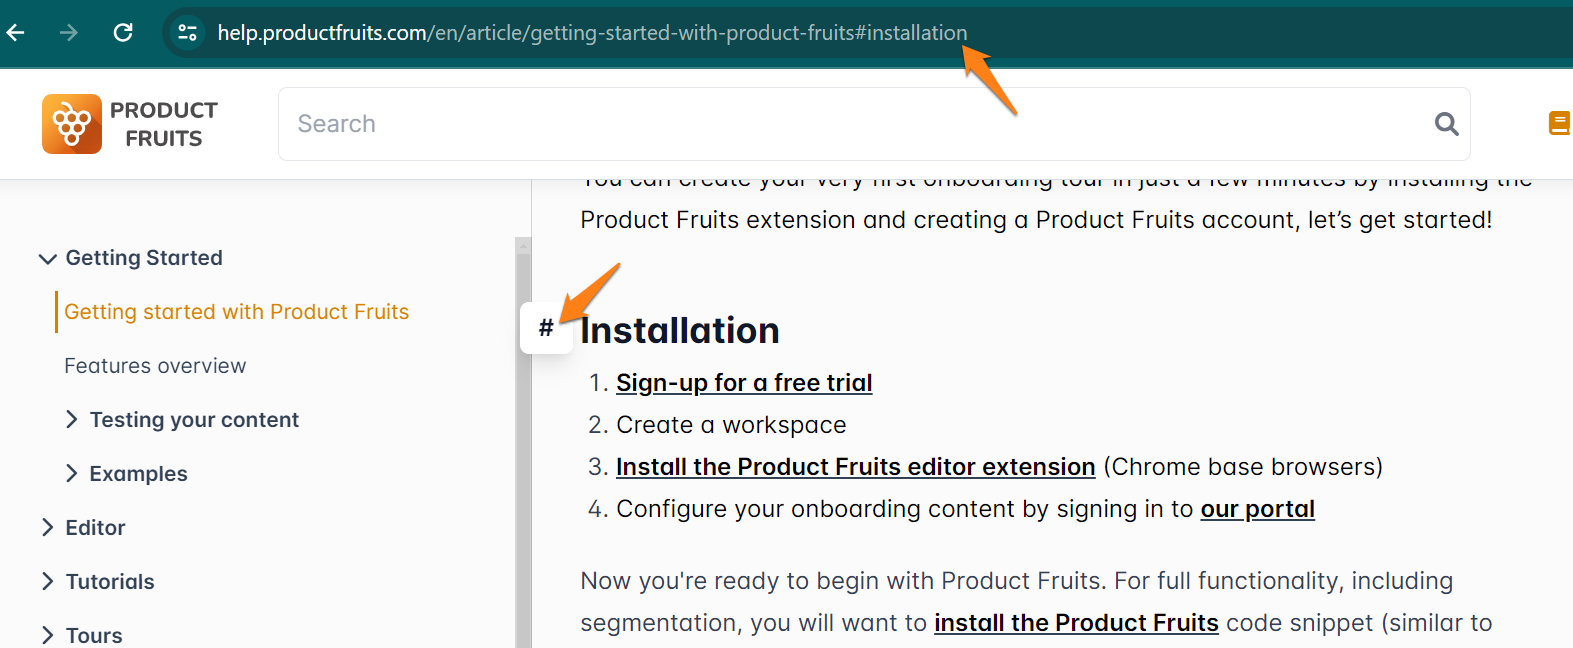
Headings can also be used to link directly to a specific section of the article. Mouse over the heading and click the # symbol to change the URL, which can be copied and directly sent or linked in your application:
Article Settings
Additional article settings can be found in the top-right of the editor.
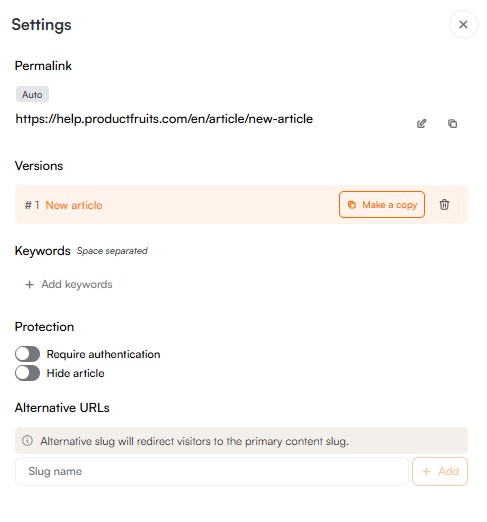
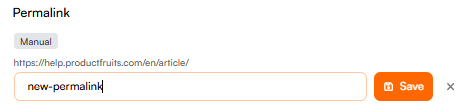
Permalink
You can change the settings for the way the article's permalink behaves here. It is set to auto by default, but can be changed to manual. When it is set to auto, the permalink will change to match the article's title. When changing this setting to manual, you can choose the permalink you'd like. This is useful when you have a static button or link in your application that would break when the auto permalink changes with the title.
Versions
In this section, it is possible to duplicate article versions to be edited and drafted before being published.

Keywords
Add search keywords to the articles for easier searching in your customer portal. When adding keywords, think of what your users might search for which may not necessarily be words included in the article text. This is when keywords become useful!

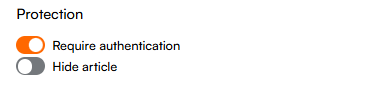
Protection
Hide the article fully or configure it here to require authentication. Remember to enable this in the customer portal settings and set up access management or this article will be hidden completely.
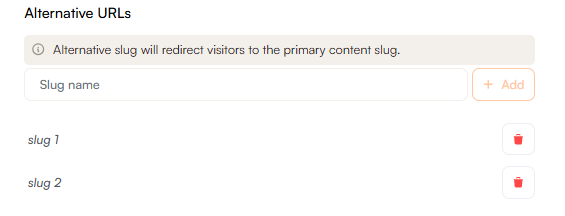
Alternative URLs
Set up additional slugs for this article. This is similar to setting the permalink to manual, but you can have multiple slugs that will redirect visitors to the primary content slug.
Knowledge base tips
- You can edit the permalink of your article to improve SEO
- Use version control (you can edit new versions of the article without unpublishing the current version)
- Keywords can be added to each article manually
- Newsfeed items can be displayed publicly in the Public Centre
Knowledge base Articles & Hints
It's easy to offer more information to the user through the KB articles linked from hints. Simply highlight the text you want to act as a link, and select the 'link' icon from the pop up menu to attach it to the URL of your choice.
Knowledge base Articles & Life Ring
You can link a KB article directly from the Life Ring Button. Simply click the "Content" tab while inside the Life Ring Button settings and you'll be able to add adjust the title, URL path, and other specifications for the articles embedded inside.
Knowledge base Articles & Life Ring Search
Articles can also be made searchable inside the Life Ring Button. This will help save time for your users by not having to manually parse through content you've created.