Zapier Integration
You need a Zapier account to use this feature. The Product Fruits Zapier integration is currently in the Beta stage.
If you want to integrate with any application that is not directly supported by Product Fruits native integrations, use Zapier. Product Fruits exposes a few triggers and actions that can be connected to other applications. For example, you can fill in a Google Sheets file with survey answers or you can update a property in your CRM if a product tour was finished.
Check all possible triggers and actions here.
The Zapier integration can be accessed either from the Product Fruits Integrations page or directly from the Zapier builder under the name Product Fruits.
Authentication
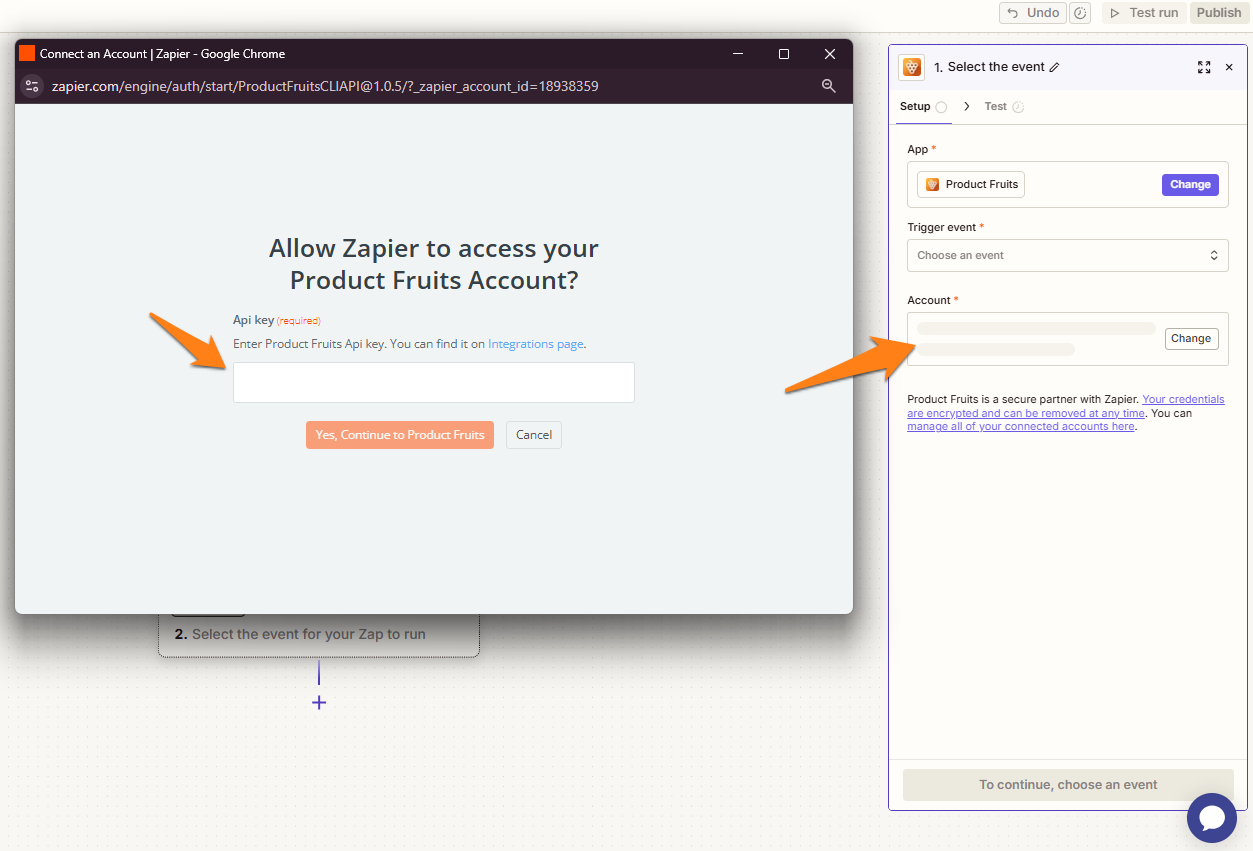
You need a standard Product Fruits API key to authenticate. Go to Integrations and select API keys. Click on Create new, give it a name and you will get a newly generated key.
In Zapier, when you first choose the Product Fruits integration, click on Connect and use the generated API key.
You should be able to use Zapier now.
Use-case: Send survey results to HubSpot via Zapier
Initial Steps
If you already have a property in in HubSpot that can store your survey answers then you can move past this step. If not then you'll need to create a custom property on HubSpot, so that Zapier knows where to send information regarding the survey response.
On HubSpot you will need to navigate to Setting > Properties > Create Property. There you will complete the required steps. For the first step we can suggest you select 'Contact' and 'Contact activity'. The label can be of your choosing. Field type can also be flexible so feel free to test to see what's best for your use case. Settings for rules is up to you as well.
Create a Zap
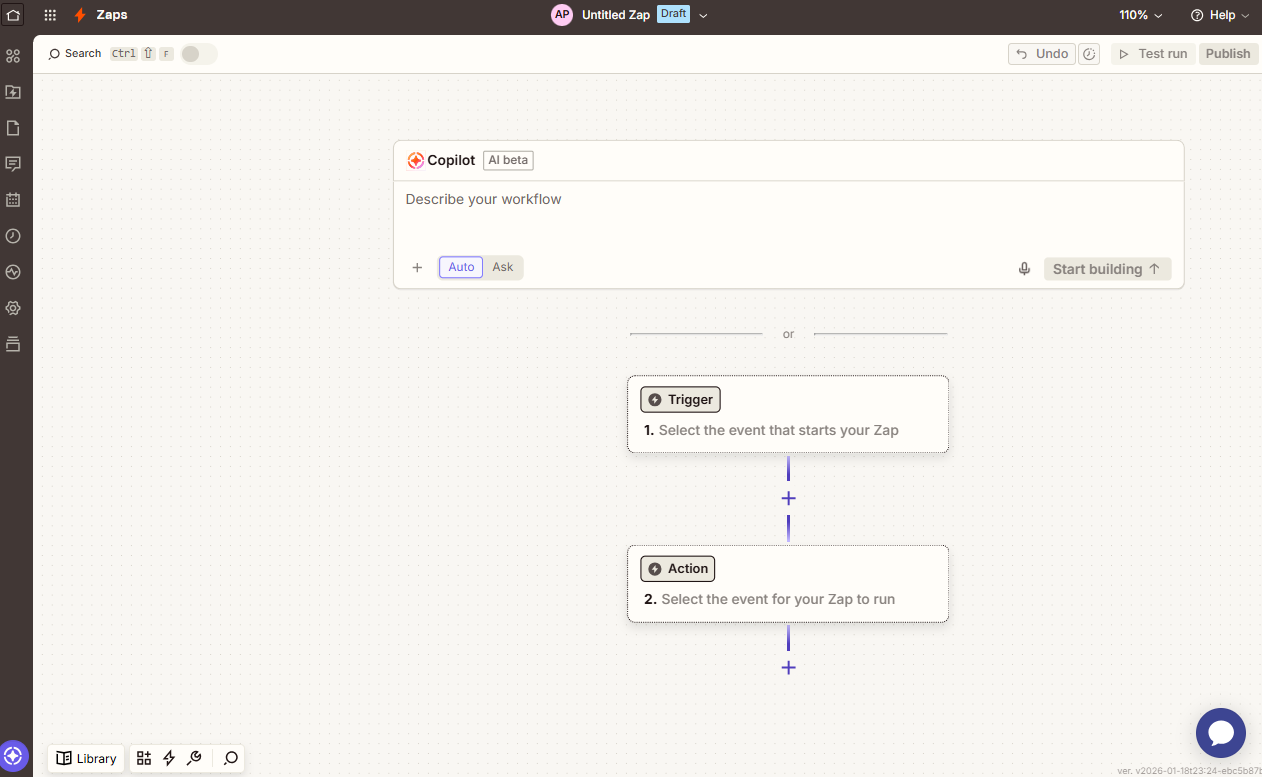
The next step is to create a workflow using Zapier. You can do this either on the Product Fruits portal, within our integrations tab or the Zapier website itself. Click 'Create Zap' and for your first trigger choose Product Fruits.
App & event: Choose the Survey finished option in this case.
Account: The workspace that your Survey can be found on.
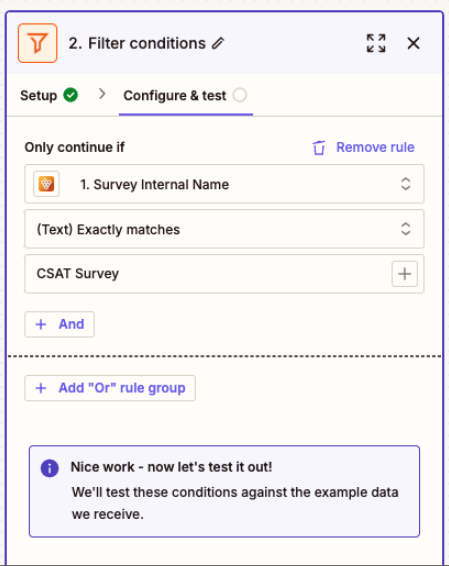
Trigger: Pick the survey that you want the results to be sent to HubSpot
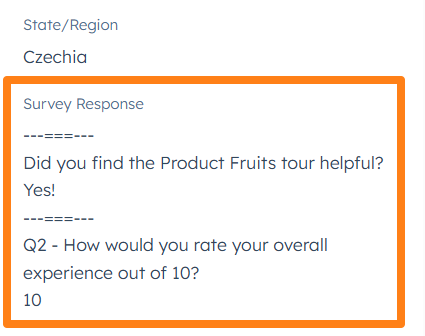
Test: You may get a few records that show up. To make the rest of the process easier, it’s a good idea to have at least one test response submitted and then you can select that one.
Now that the first part of the workflow is configured, it's time for the next. Click '2. Action' and choose HubSpot.
App & event: Choose 'Create or Update Contact'.
Account: The account should be the one you're using for HubSpot (Where you created the custom property).
Action: For this you only need to fill out Contact email which is a placeholder. You will also need to search for the property you wish to use in HubSpot, and within the field select what survey data you want to be displayed.
Test: If setup correctly the test should pass. In some cases the test can fail. A possible cause, for example, is that HubSpot needs to receive an email address to know which contact to assign the survey results to.
Once all this is done you can publish the zap and when a survey has been completed, it will send the details to HubSpot contacts .
Use-case: Send survey results to a Google Sheets document with Zapier
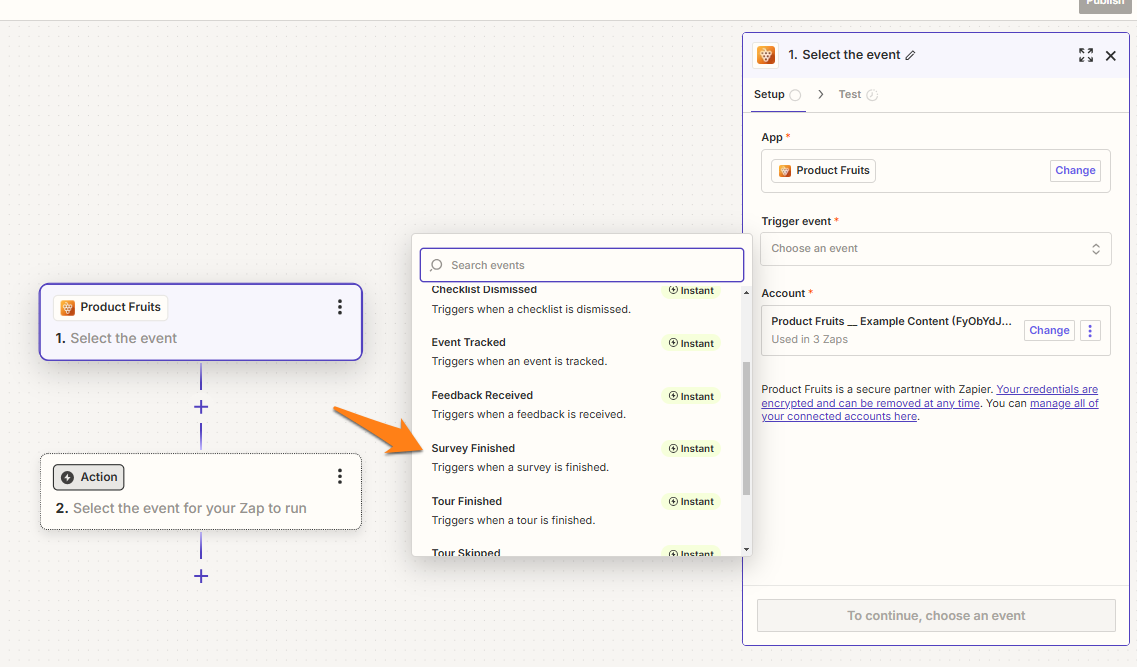
You can use Zapier to automatically send survey results to a Google Sheets file. To do this, create a new Zap and connect it to Product Fruits. The Trigger Event will be "Survey Finished" and make sure that the correct workspace is selected here as well.
Continue, then select the survey you'd like to use for the trigger. Before testing the trigger, you will need to fill out the survey and submit it at least once so that Zapier can receive the survey information. Test the trigger and Zapier will give you some options for records. Choose one, and continue to the next step of selecting an Action. Here, you will select Google Sheets.
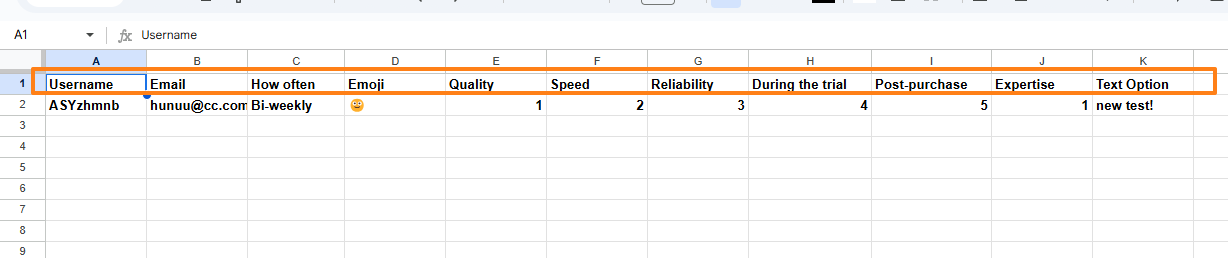
If you haven't already done so, make sure you have created the Google sheet that you'd like to send the results to, and add a header row with a column for each property and answer you'd like to include:
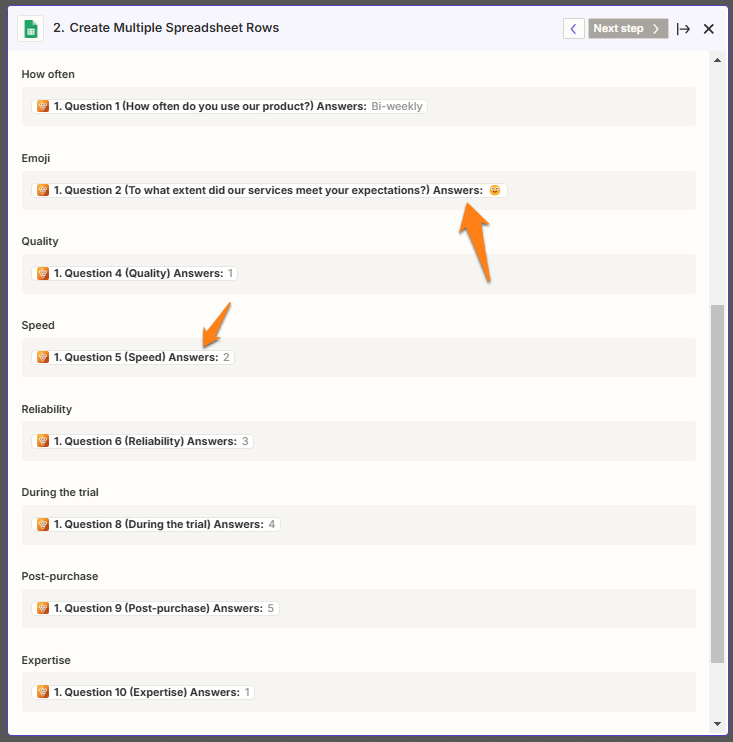
Next, choose the action event: Create Multiple Spreadsheet Rows and connect your Google Sheets account. In the next window, also select the correct drive, spreadsheet, and worksheet.
Now all you need to do is map the survey answers to those headers you created in the Google sheet. Find your question in the dropdowns for each header and select the option that includes "Answers", which will dynamically generate the survey results that users are submitting.
Once you are done mapping all of the answers, continue and test the survey in Zapier again. You should see the answers populating in the Google sheet that you submitted earlier. Publish, and your survey and sheet is ready to go!
FAQ