How to Create Multi-Page Tours
Multi-page tours are tours that have their cards appear across different pages or URLs in your application. They allow you to create a single, connected tour that moves through multiple sections of your app, even if those sections are on different pages. This is useful when you want to show a complete workflow or highlight features that aren’t all on one screen.
When to Use a Multi-Page Tour?
Use a multi-page tour in situations where a single page is not enough to cover all the steps or features you want to show. Some common cases include:
- To demonstrate features or steps that are spread across multiple pages in your app.
- When part of a workflow happens on one page (like the dashboard) and the rest on another (like the settings page).
- To allow users to interact with links or buttons to navigate naturally between pages during the tour.
- To make the tour follow the real navigation flow of the application.
How to Create a Multi-Page Tour
You can create a multi-page tour in two main ways: by using a custom button or by using the advance action feature in the tour editor. Which method you use depends on the type of URL in your application. If the pages you want to link to have fixed URLs (using a [specific] placeholder), a custom button is usually the easiest option. If the URLs are dynamic, or if you want users to navigate by clicking real links or buttons in your app, the advance action feature is a better fit.
[Specific] Placeholder - Use Custom Button
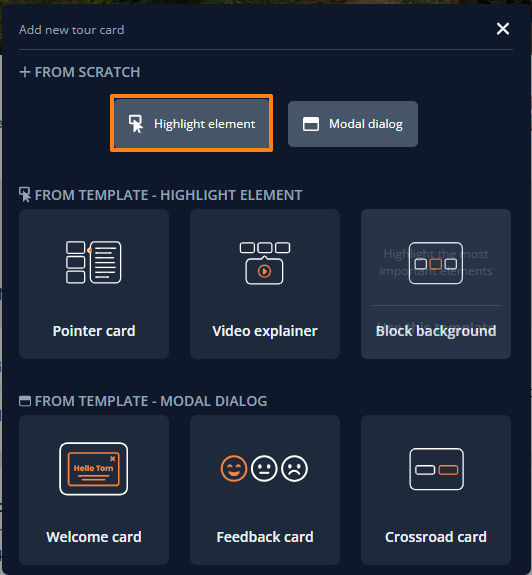
First, you need to add a custom button to your tour card by clicking the three dots to add a new section, then select Button.
From the Select an action dropdown menu, choose Go to a URL and advance, and enter the URL you want to link to. When the user clicks the button, they will be redirected to that URL, and the tour will automatically continue to the next card.
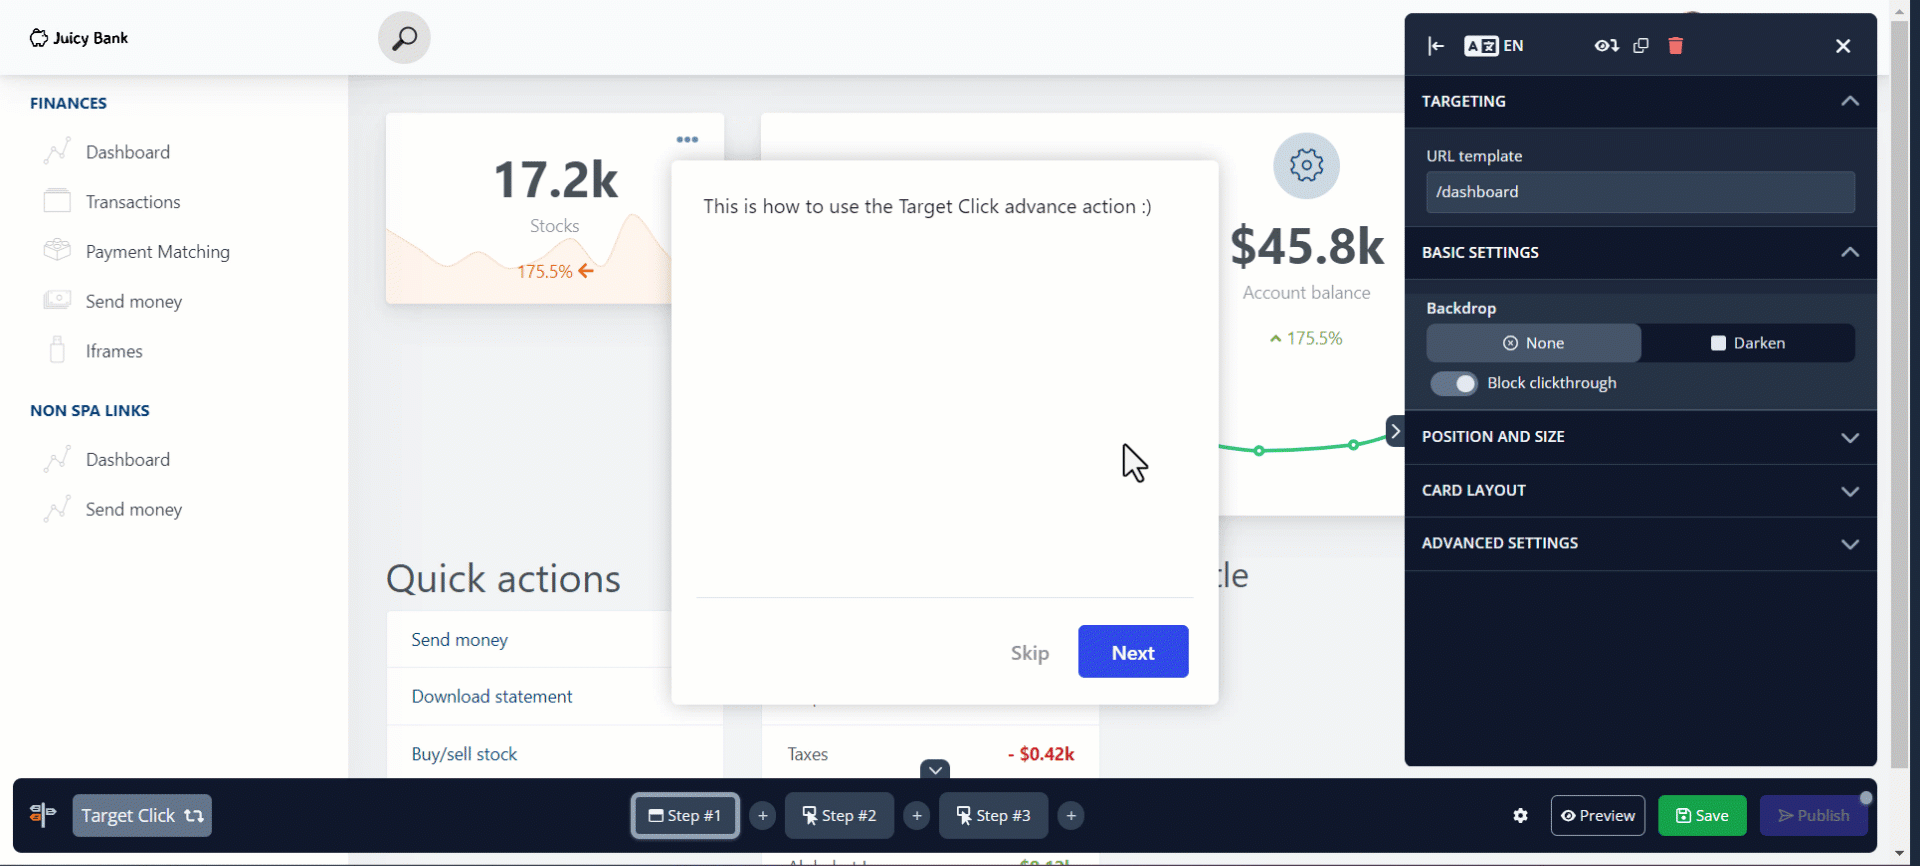
[Dynamic] Placeholder - Use Target Click Advance Action
To set this up, create a new card and select Highlight element. Then, choose the element that you want the user to click.
Under the Basic settings section of the editor, change the advance action from the Next button to Target Click. This tells the tour that it should only move forward when the user interacts with the highlighted element on the page.
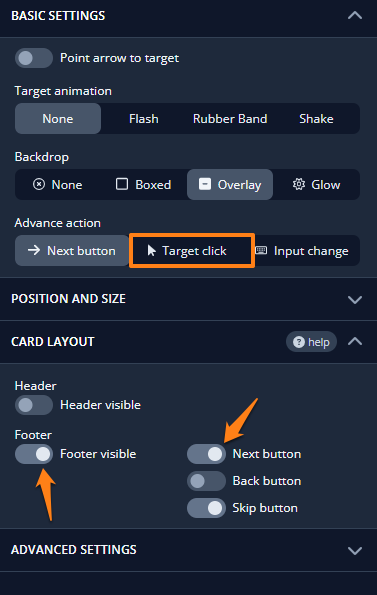
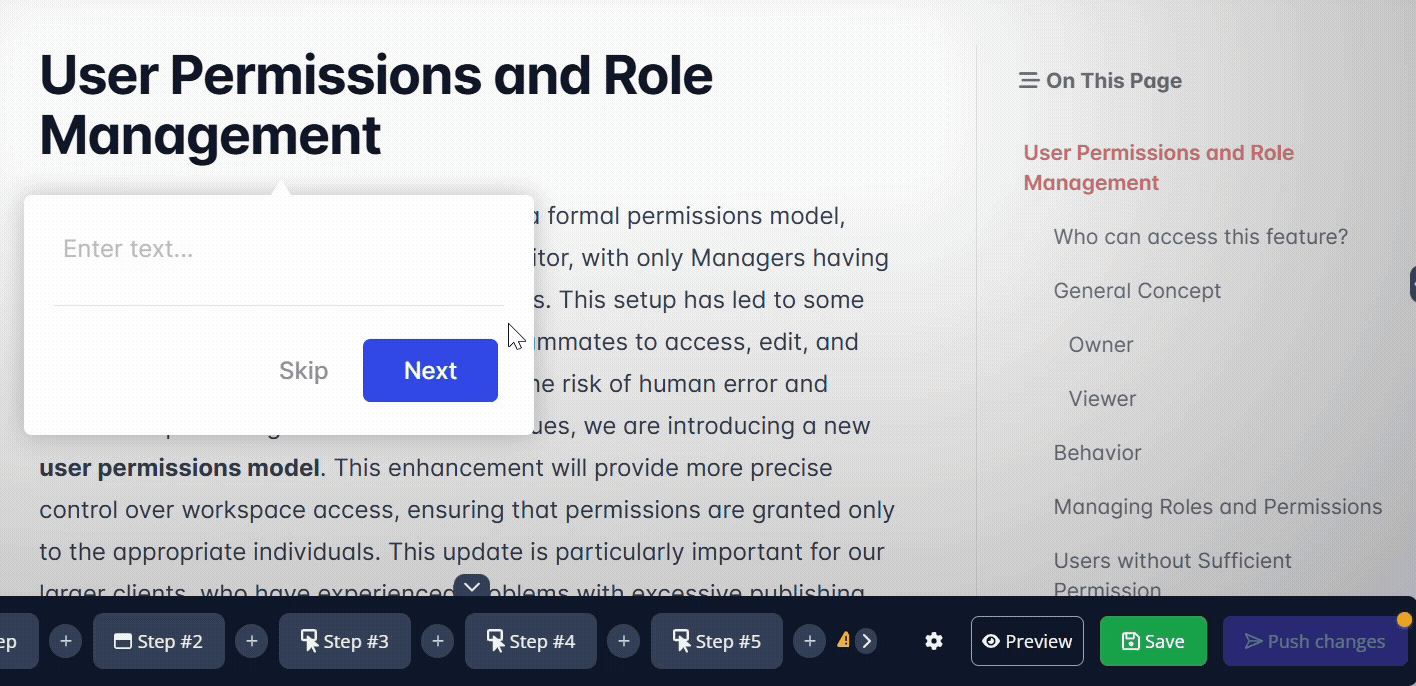
Next, go to the Card layout section and toggle off the footer so that the standard navigation buttons (like Next or Back) are hidden. This way, the tour will advance only when the user clicks on the highlighted element, instead of using a card button.
Now, your user can navigate between pages and advance the tour at the same time: