
How to Test Content Before Sharing It with Your Users
Save & Publish to push it to the live site
You must Publish your Tour, Hint or Announcement in order for it to be seen by your audience. When working in the editor, you can Save your work in progress, which wont be seen by anyone until you Publish it.
Testing by Restricting Access
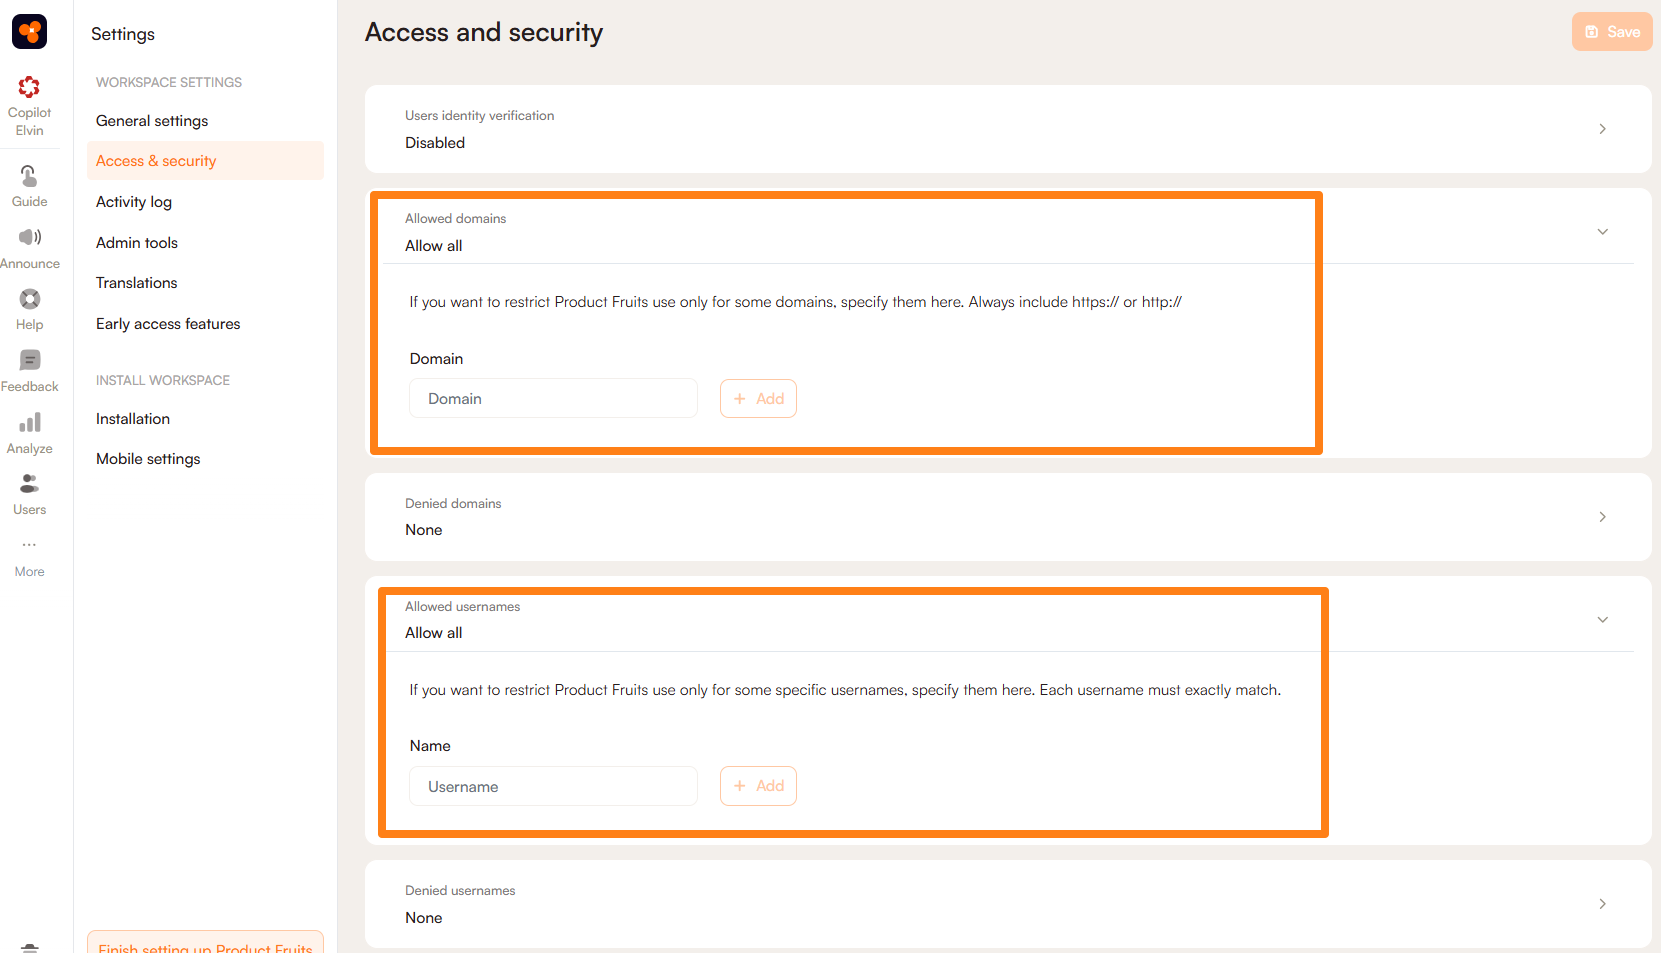
Once Product Fruits has been installed into your application, there are several ways to restrict who can see onboarding content until it is ready. In the Workspace Settings, you can restrict all Product Fruits content to a single domain or specific usernames.
Keep in mind this includes content you've already published. These usernames are the same usernames you pass via the JavaScript snippet into Product Fruits.
You need to use the Product Fruits code snippet, and not just the Product Fruits extension, for restricted access.
Testing via Segmentation
Segmentation is the best way to restrict content, because you can do it for each Tour or Hint group separately. You can create a segment based on your own email domain (or the domain of your company) which will restrict content to users with said email domain.
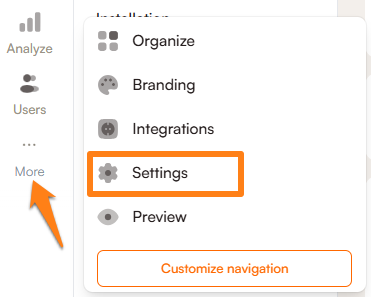
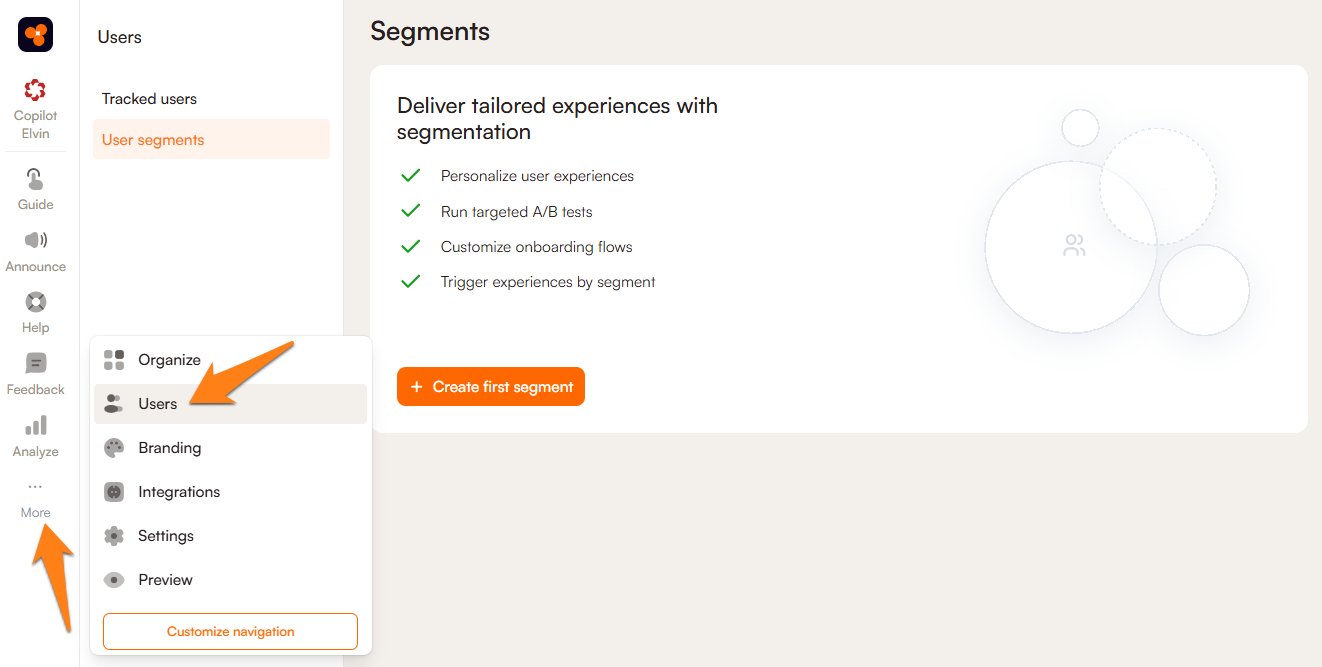
To set up a segment based on email domain you will want to navigate to More --> End users --> User Segments and click Create first segment:
Once you click to create your first segment you will then see a screen that allows you to name that segment and add conditions:
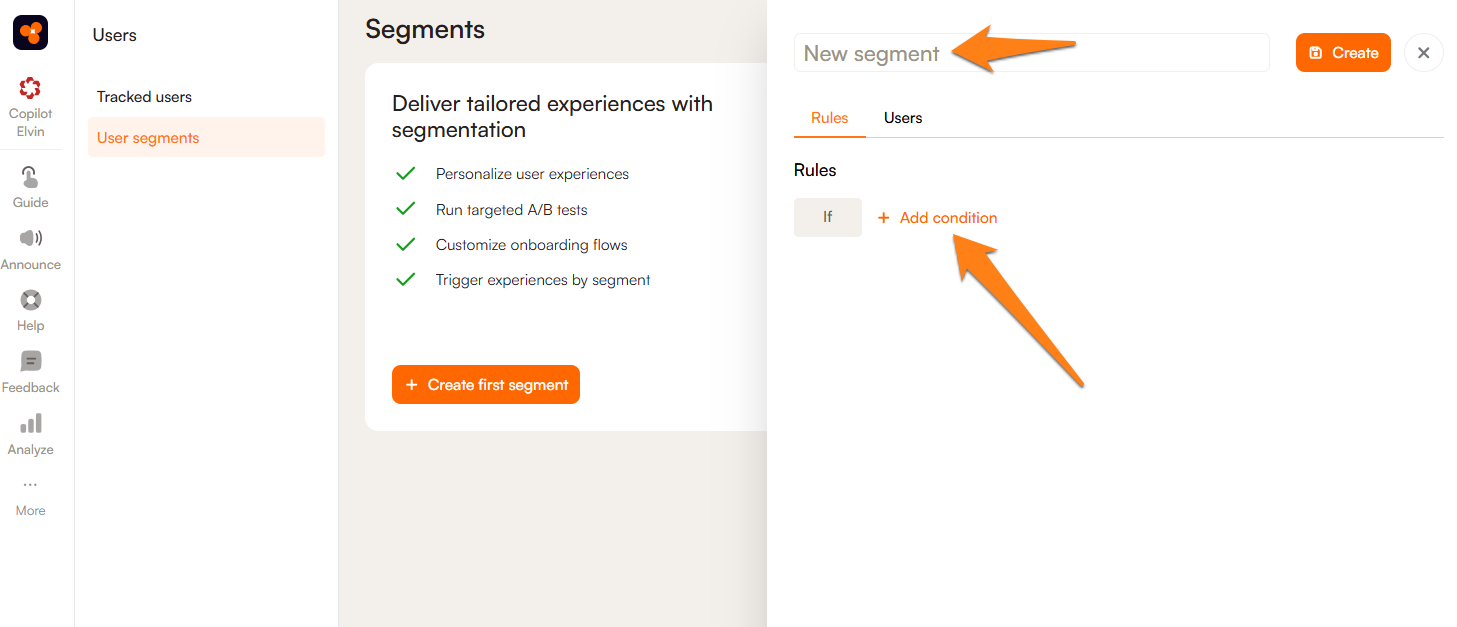
You'll want to make sure you name the segment in a way that you will remember and will not be confusing for any coworkers who will also be using Product Fruits. Here we have named our segment Internal Users (Testing):
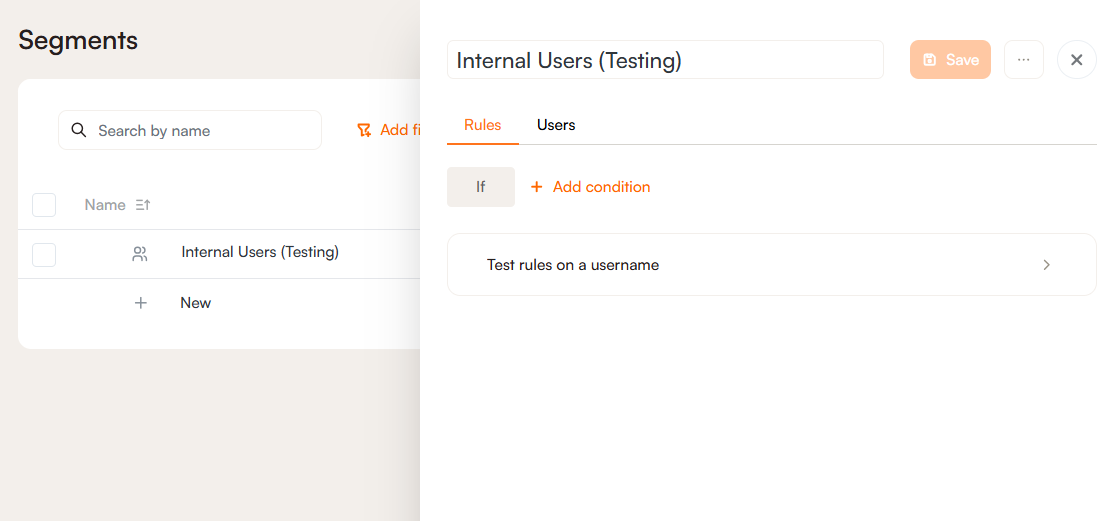
As soon as you name your segment you will see the option to Test rules on a username. First we will want to add the condition of our company email domain. If there are no conditions on a segment you will get the error that the segment cannot be tested when you try to test it on username.
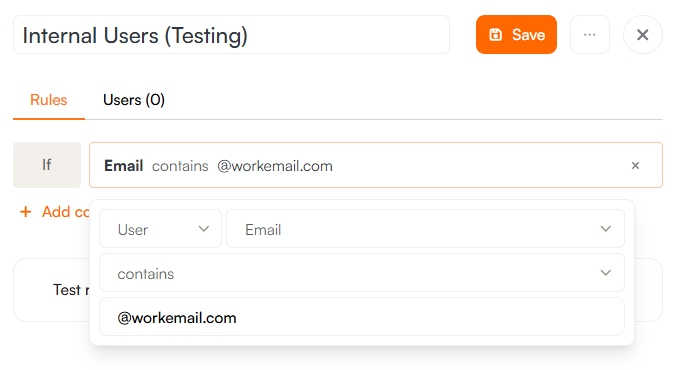
Here we have added the condition for this segment to apply only to those users whose email contains the domain of our company, @workemail.com (which you would replace with your company's email domain):
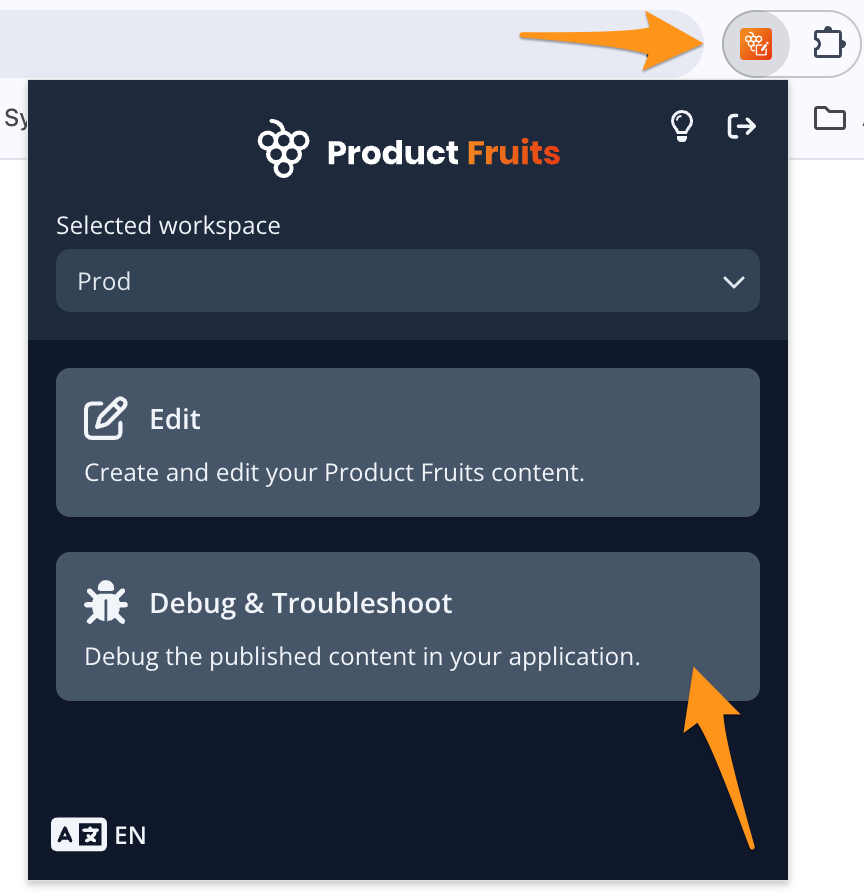
In testing you will want to double check to be sure that you are sending the correct email address to Product Fruits. You can do this by either viewing your user information in the tracked user section (under More --> Tracked Users) or by checking the Debugger. To view your user information in the Debugger you will want to open the Product Fruits extension on your application (if you have Product Fruits installed already) and then click on the User tab:

Now that you have confirmed your username and email you can set up a custom rule or target to the specific segment you made. To do so, simply click on Targeting, then Segment, then select the segment you created from the dropdown:
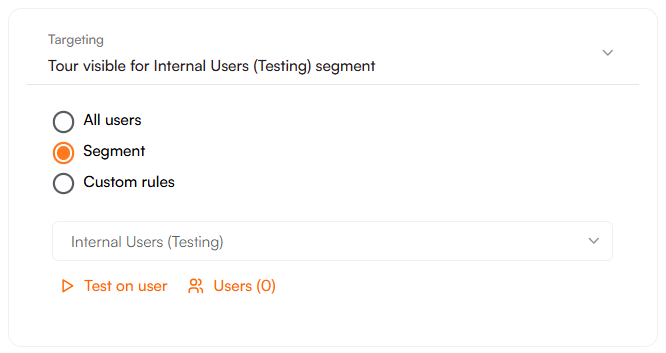
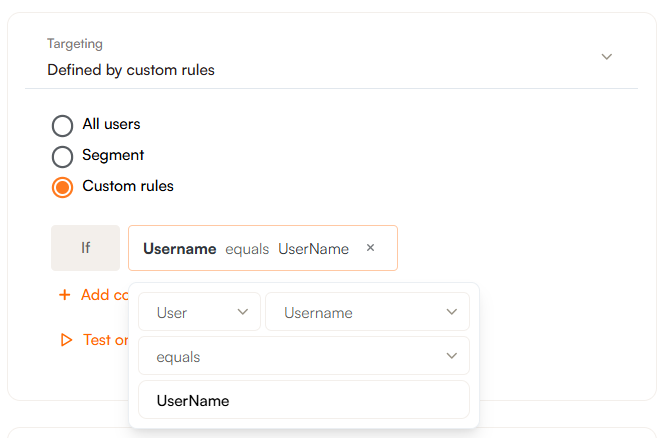
To create a custom rule for your username you can instead select Custom rules and target to your specific username with a rule such as If User Username equals (your username).
When you are satisfied with your testing, simply remove the segment or rule from targeting and select All users to display the content to everyone.
 Important: If you're testing with the "Once per user" tour trigger, be sure to use the "Restart tour for this user" option after viewing the tour on the account you're testing with.
You need to have implemented the Product Fruits code snippet, not just the Product Fruits extension, for segmentation. With multiple workspaces and the ability to copy content between them, this is an easy task to tackle. Moreover, it’s simply a matter of figuring out which approach you’d prefer.
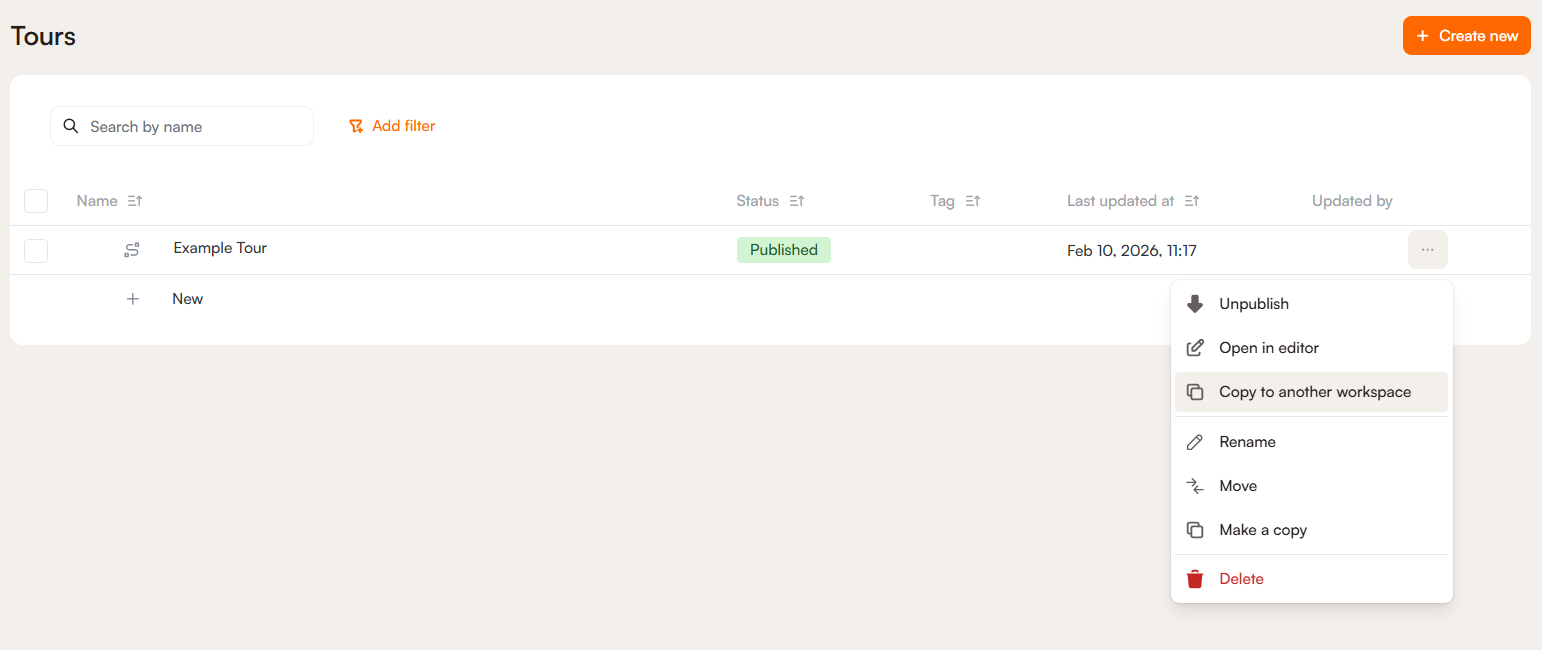
The two workspace approach
Another option is to create one workspace for your staging environment and a second workspace for your production/live environment. This allows you to create content on your staging environment which can then be copied over to your production workspace once it’s ready to be shared with the masses.
 Note: Checklists and the Life Ring Button/Elvin items can't be copied between workspaces.