
Getting Started with Product Fruits
Onboarding platforms are a great way to help you ensure your users quickly understand and get value from your product. With features like step-by-step walkthroughs, tooltips, and checklists, they make the user experience smoother and reduce confusion. This means fewer support tickets for you to handle and happier users who stick around longer. Plus, with built-in analytics, you can see what’s working, identify where users might struggle, and make improvements
What is Product Fruits?
Product Fruits is your all-in-one toolkit for turning web apps into a smooth, engaging experience. Imagine having the power to create interactive onboarding tours, helpful tips, in-app messages, and user feedback tools—no developer needed. Think of it as a smart guide that sits right on top of your app, showing users exactly where to go and what to do next. With built-in analytics, you can track every click, gather insights, and fine-tune your approach based on real user data. It’s fast, fun, and the easiest way to make your app feel intuitive and personalized. Got your attention? 🙂 Learn how to get started!

Getting Started with Product Fruits
Getting started with Product Fruits is simple and quick. In just a few minutes, you can create your first onboarding tour by installing the Product Fruits extension and setting up your account. Take some work off of your developers and see what you can accomplish.
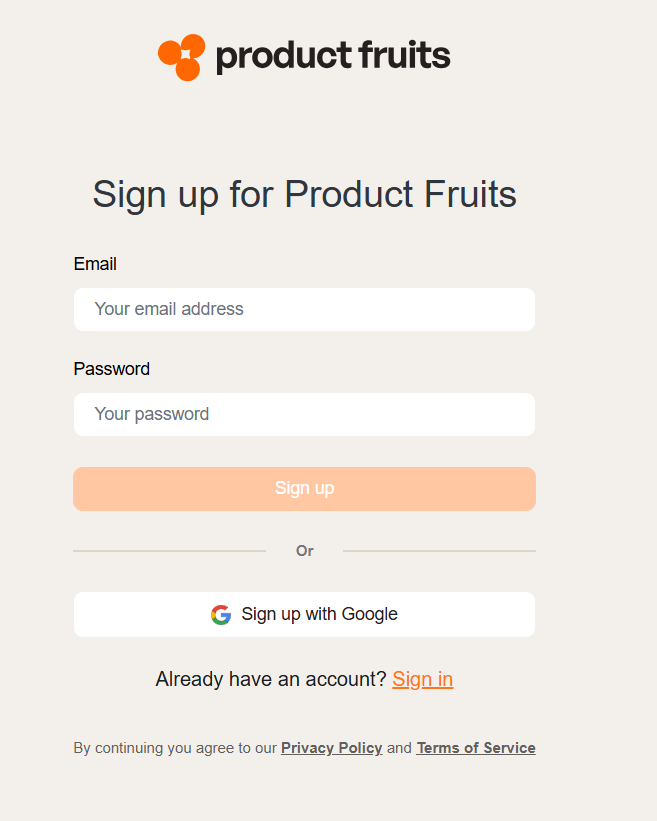
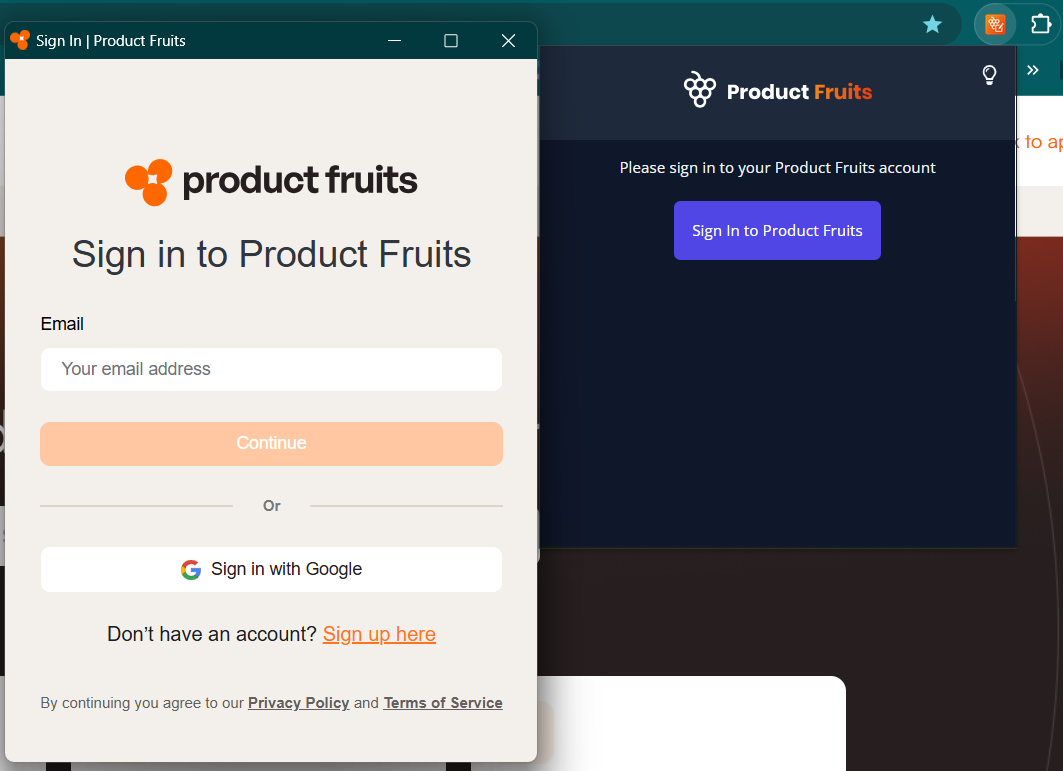
1. Sign Up For a Free Trial
Start by signing up for a free 14-day trial using your personal or company email address. Don’t stress about using your personal email, you can always invite your business email later if needed.
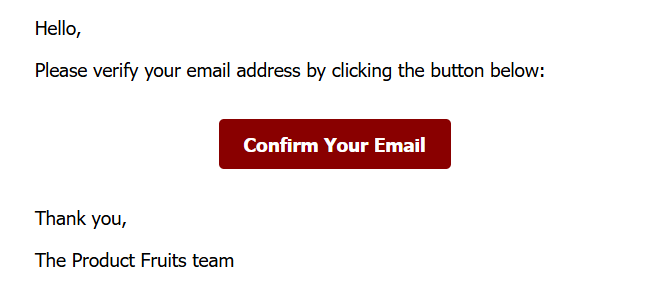
Once signed up, you’ll need to confirm your email address by clicking on the link sent to your inbox in order to start exploring Product Fruits.
2. Create a Workspace
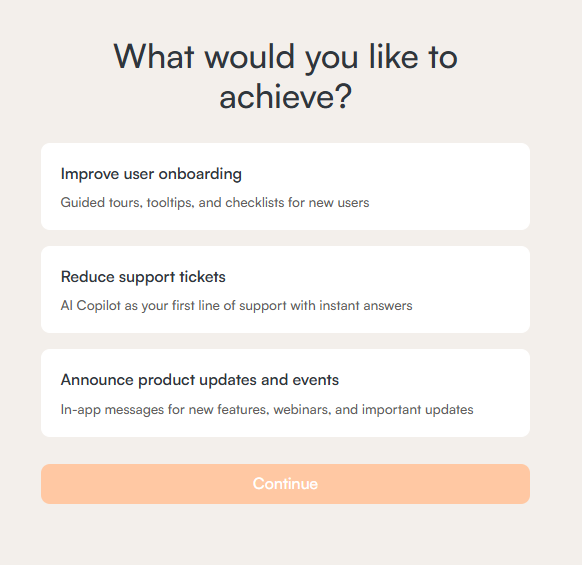
Before diving into creating onboarding content, you’ll need to set up your first workspace by filling in a few details about your company and product. A workspace is best thought of a container for all of the onboarding content related to an environment ('development' or 'production' perhaps) of an application.
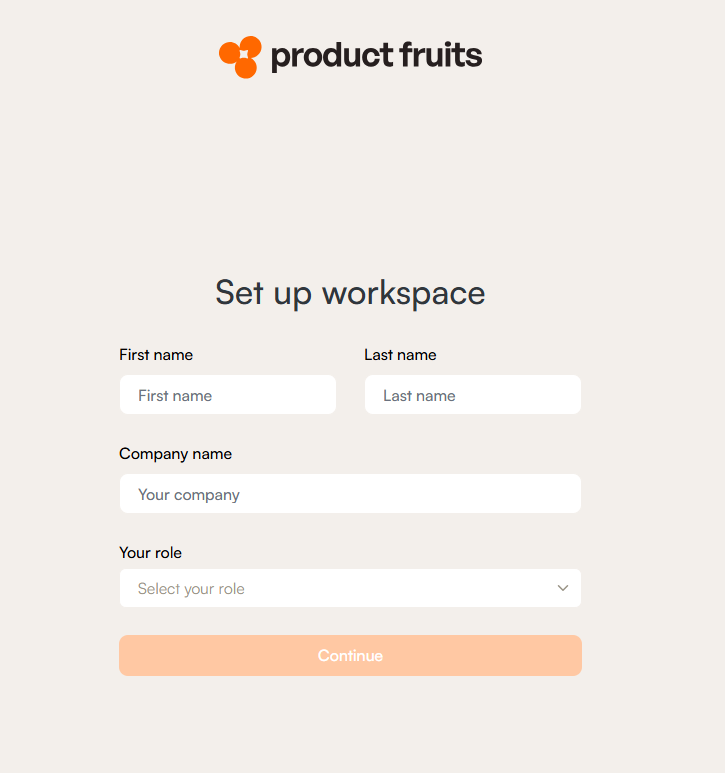
You can also invite team members by providing their email addresses.
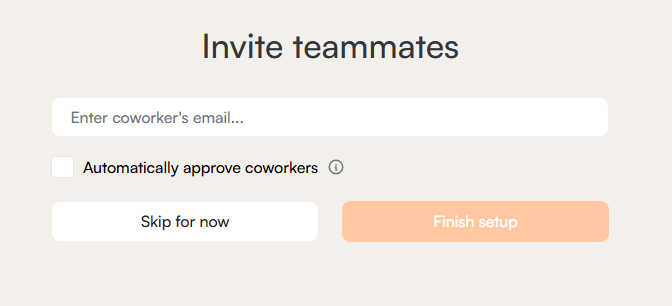
If you select the Automatically approve coworkers option, any team members using the same company email domain as you will automatically gain access to the workspace without requiring your approval. But don’t worry, team members can be invited at any point. If you prefer to hold off for now, just follow this link.
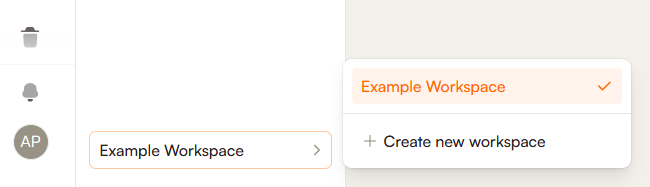
It's possible to create as many workspaces as you need in your Product Fruits account. If your account has the proper permissions then they can be made at the bottom left corner of the Product Fruits portal, within the workspace selection drop down.
Any workspace can be easily deleted with the proper permissions, just follow the steps outlined here.
Potential Issues
While inviting team members to your workspace, you may receive an error message that the user you are inviting already belongs to another company.
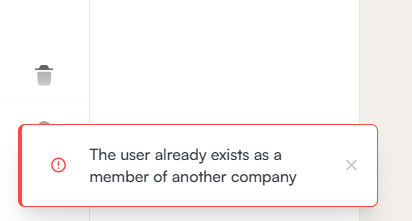
This happens when the user you are trying to invite has already created an account. At this time, as a user is not able to be a member of multiple companies, the user you're inviting must first delete their account in order to join your company. In order to do so, they must simply navigate to their profile page and click Permanently delete this user account under the Danger area tab.

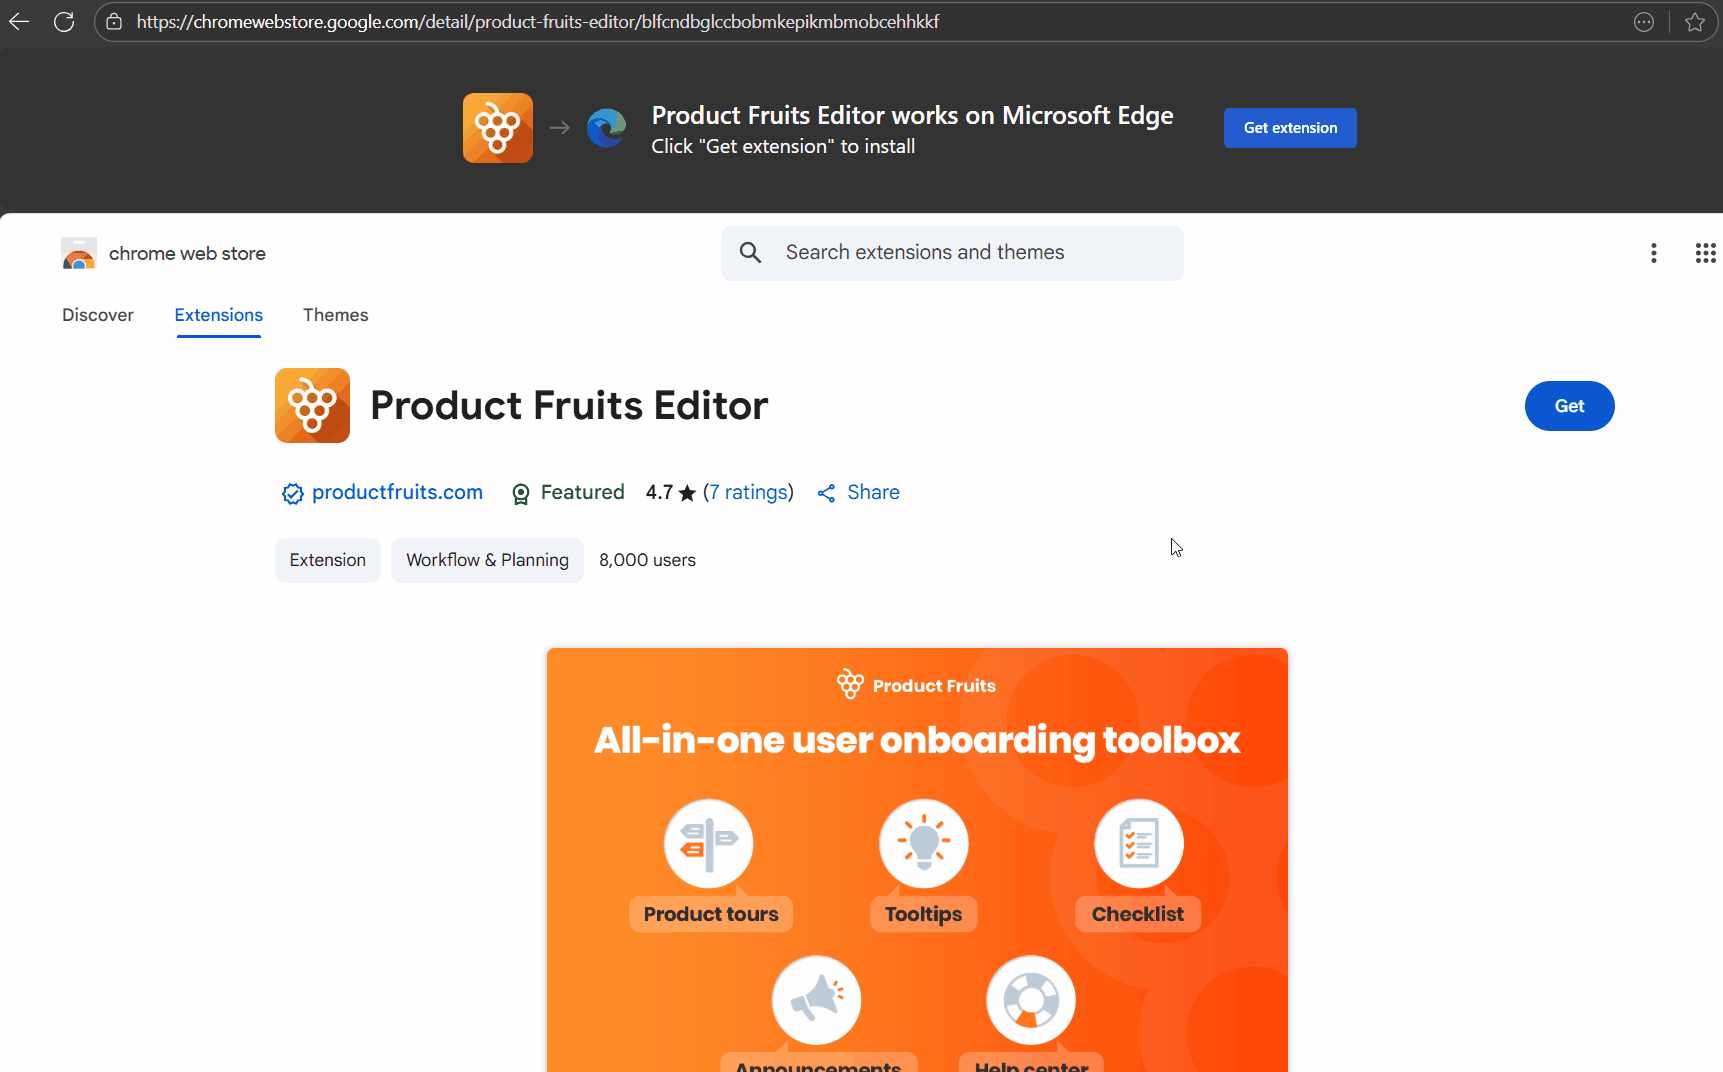
3. Install the Product Fruits Editor Extension
The Product Fruits Editor works as an extension for any Chromium-based browser, allowing you to easily build onboarding tours, hints, and custom events. It also enables you to preview and refine all your Product Fruits content directly within your browser.
To get started, click here to install the editor extension. After installation, remember to pin the extension for easy access whenever you need it. Not sure how to do that? Check out the instructional video below.
Once installed, log in using the same credentials you use for accessing the Product Fruits administration panel. Your login session is shared, meaning if you’re logged into the extension, you’re also logged into the administration panel (and vice versa). If you’re not logged in, you’ll be prompted to enter your credentials when opening the extension.
With the extension ready, you can start exploring Product Fruits’ functionalities and building your first pieces of onboarding content. For full functionality, such as segmentation, consider installing the Product Fruits code snippet, similar to Google Analytics. You can learn more about the snippet here.
4. Read the Features Overview
Familiarize yourself with Product Fruits’ features and check out practical examples, like how Twigsee, a platform that simplifies communication between preschools and parents, uses Product Fruits to onboard users and maintain clear communication. Browse through case studies from other clients to see how they’re utilizing Product Fruits and get inspired.
5. Learn to Use the Editor
If you’re ready to jump in, start by familiarizing yourself with our comprehensive tutorial series on how to use the Product Fruits Editor.
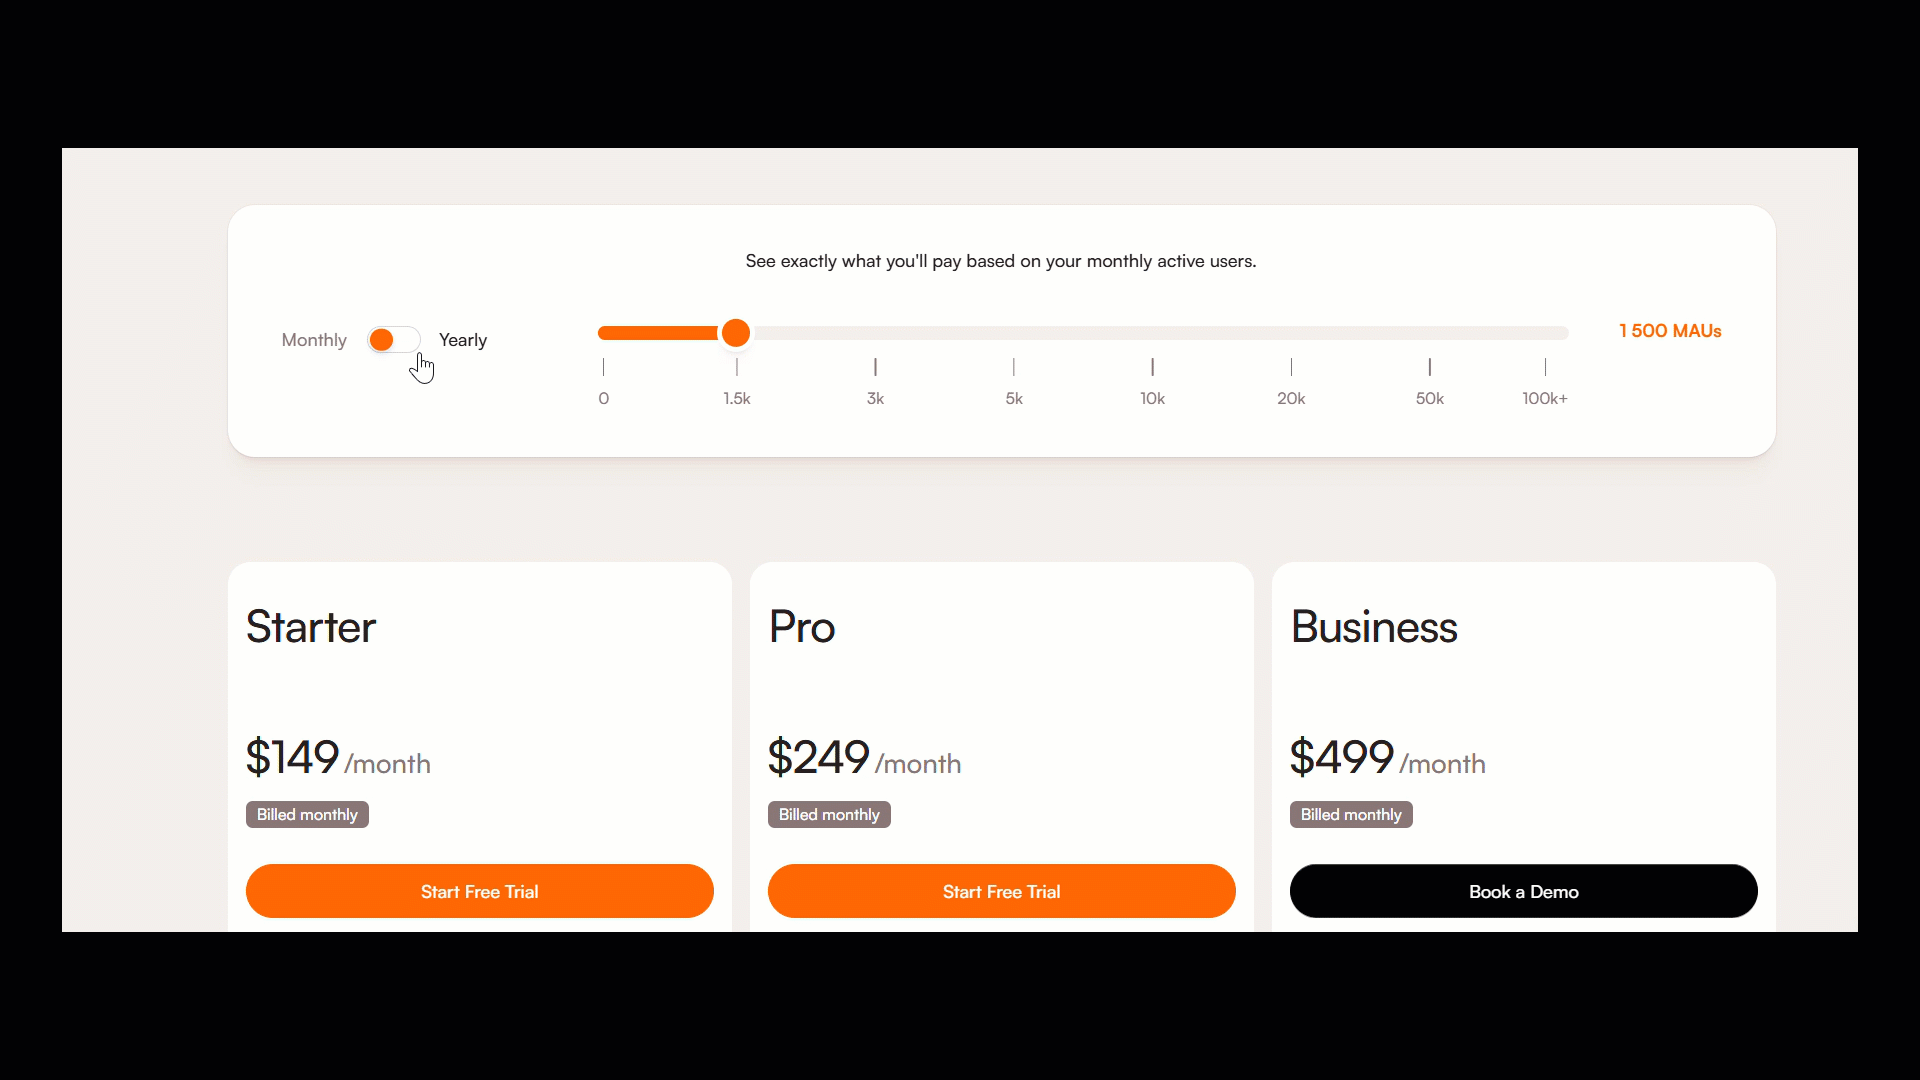
6. Choose a Plan
When you’re ready to take things to the next level, choose a plan that best fits your company’s needs. Use the MAU (Monthly Active Users) calculator to determine the right plan for your scale. You can explore the benefits of each plan here or learn more about how MAU is calculated in our help article here. For a tailored solution, book a demo to discuss a custom plan.
7. Still Have Questions?
Feeling overwhelmed? That’s totally normal at first glance. If things are still unclear after exploring the help center, don’t hesitate to reach out. You can ask your questions directly to our Copilot for quick assistance, or if you'd prefer to speak with someone, click on Talk to live support. Our regular chat availability is from 7am to midnight central European time (UTC +2). Both the Copilot and live support chat can be accessed from the Life Ring Button (the Help icon in the bottom right corner). You can also book a demo with a sales representative to get a detailed walkthrough of how the platform can support your use case, you can reach us via our support email at support@productfruits.com, or book an implementation workshop to get hands-on guidance. We’re here to help every step of the way!