How to preview surveys
Previewing via the Preview Button
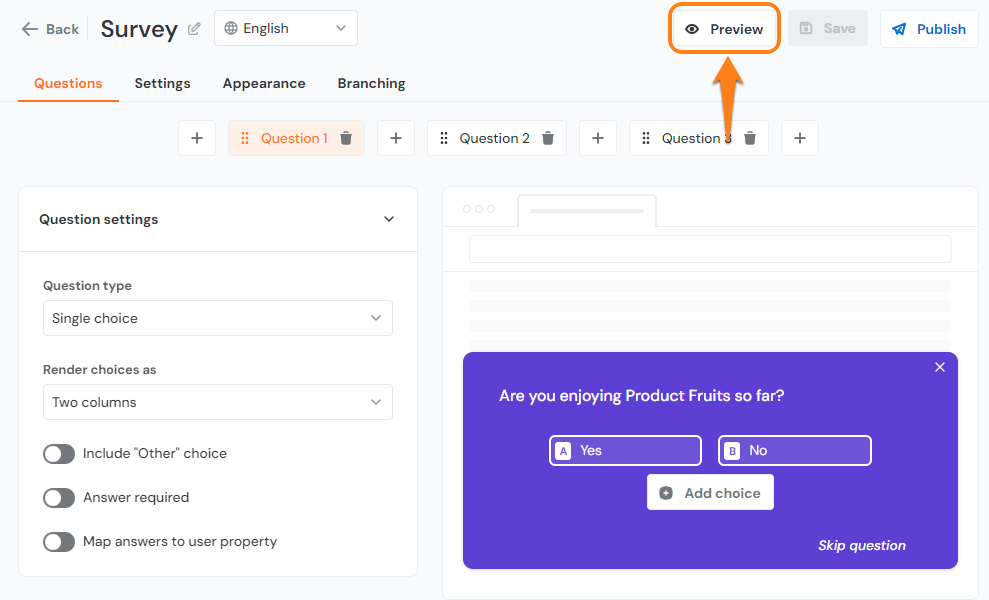
By far the easiest method for previewing a survey is to use the preview button located next to the Publish/Unpublish button in the top right of the Surveys page:
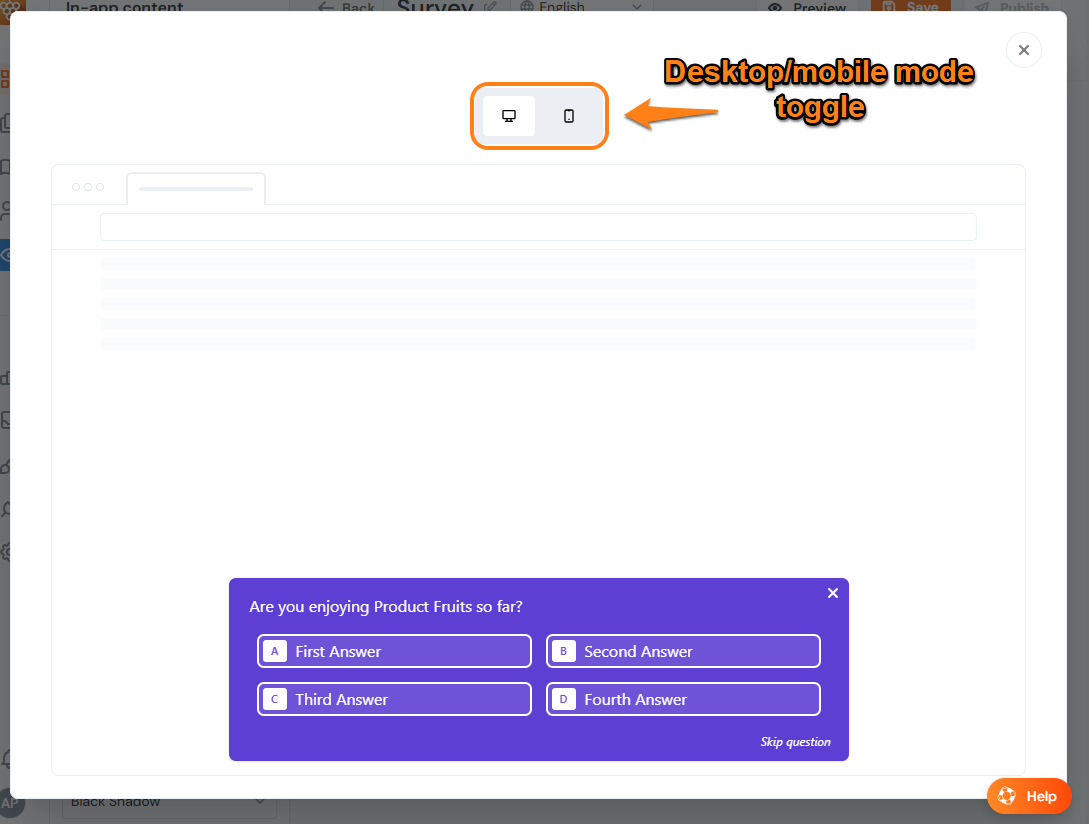
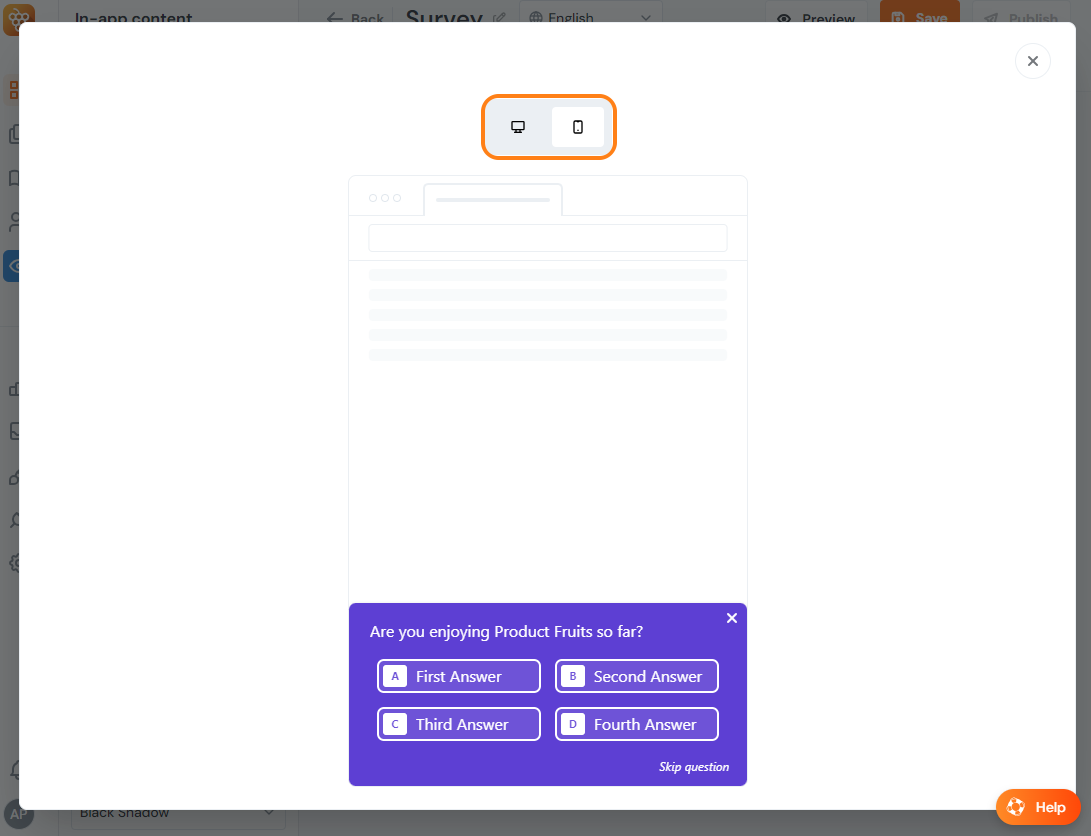
The built-in Preview will lead to a largely blank display screen with your survey at the bottom and a desktop to mobile toggle switch at the top. As the name suggests, this will allow you to see your survey from either a desktop or mobile point of view.
Mobile view:
Previewing via the Product Fruits Extension
While the Preview button in the Survey section of the Administration is the simplest and most direct way of previewing a survey, you may want to see your survey inside your application instead. We have two options for this, the first of which is through the Product Fruits Extension.
Before you continue, make sure your survey is published! If your developers have not yet done the full installation of Product Fruits or if you're testing in a workspace without Product Fruits installed (such as a staging environment), this will not publish the survey to your website.

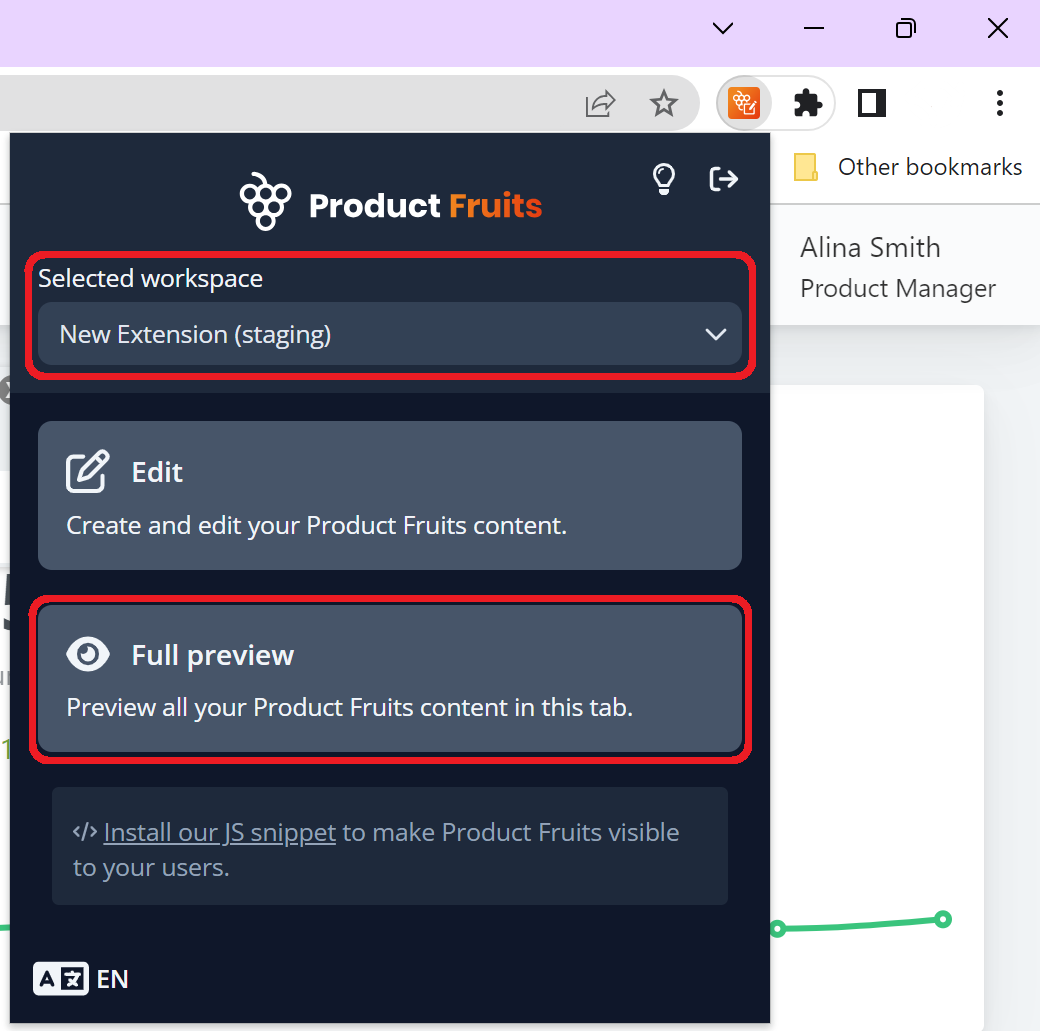
If you've already downloaded the Product Fruits Editor Extension, you will be able to find it in your extensions menu, typically located in the top right of your browser.
Note: The full installation of Product Fruits is not required in order to access the extension by itself.
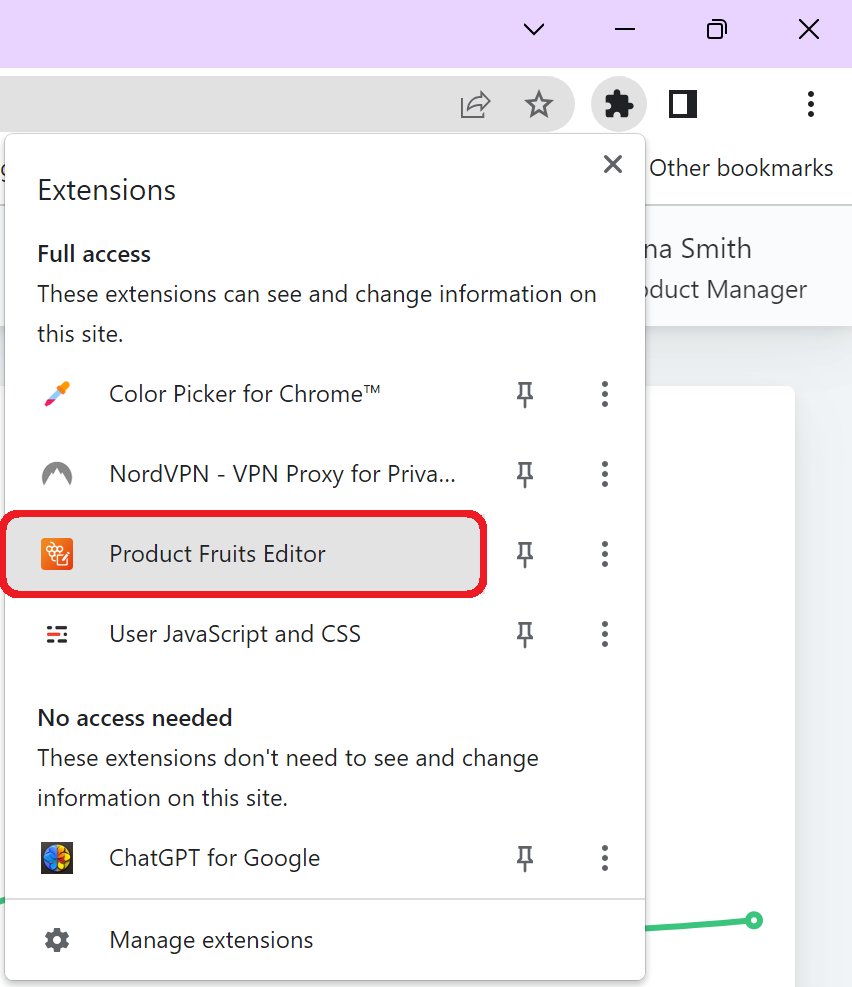
Once you've selected Product Fruits Editor, a new menu will open, allowing you to select the workspace in question, followed by the options to open it with either the Edit or Full preview modes. In this case, we'll want to select Full preview.
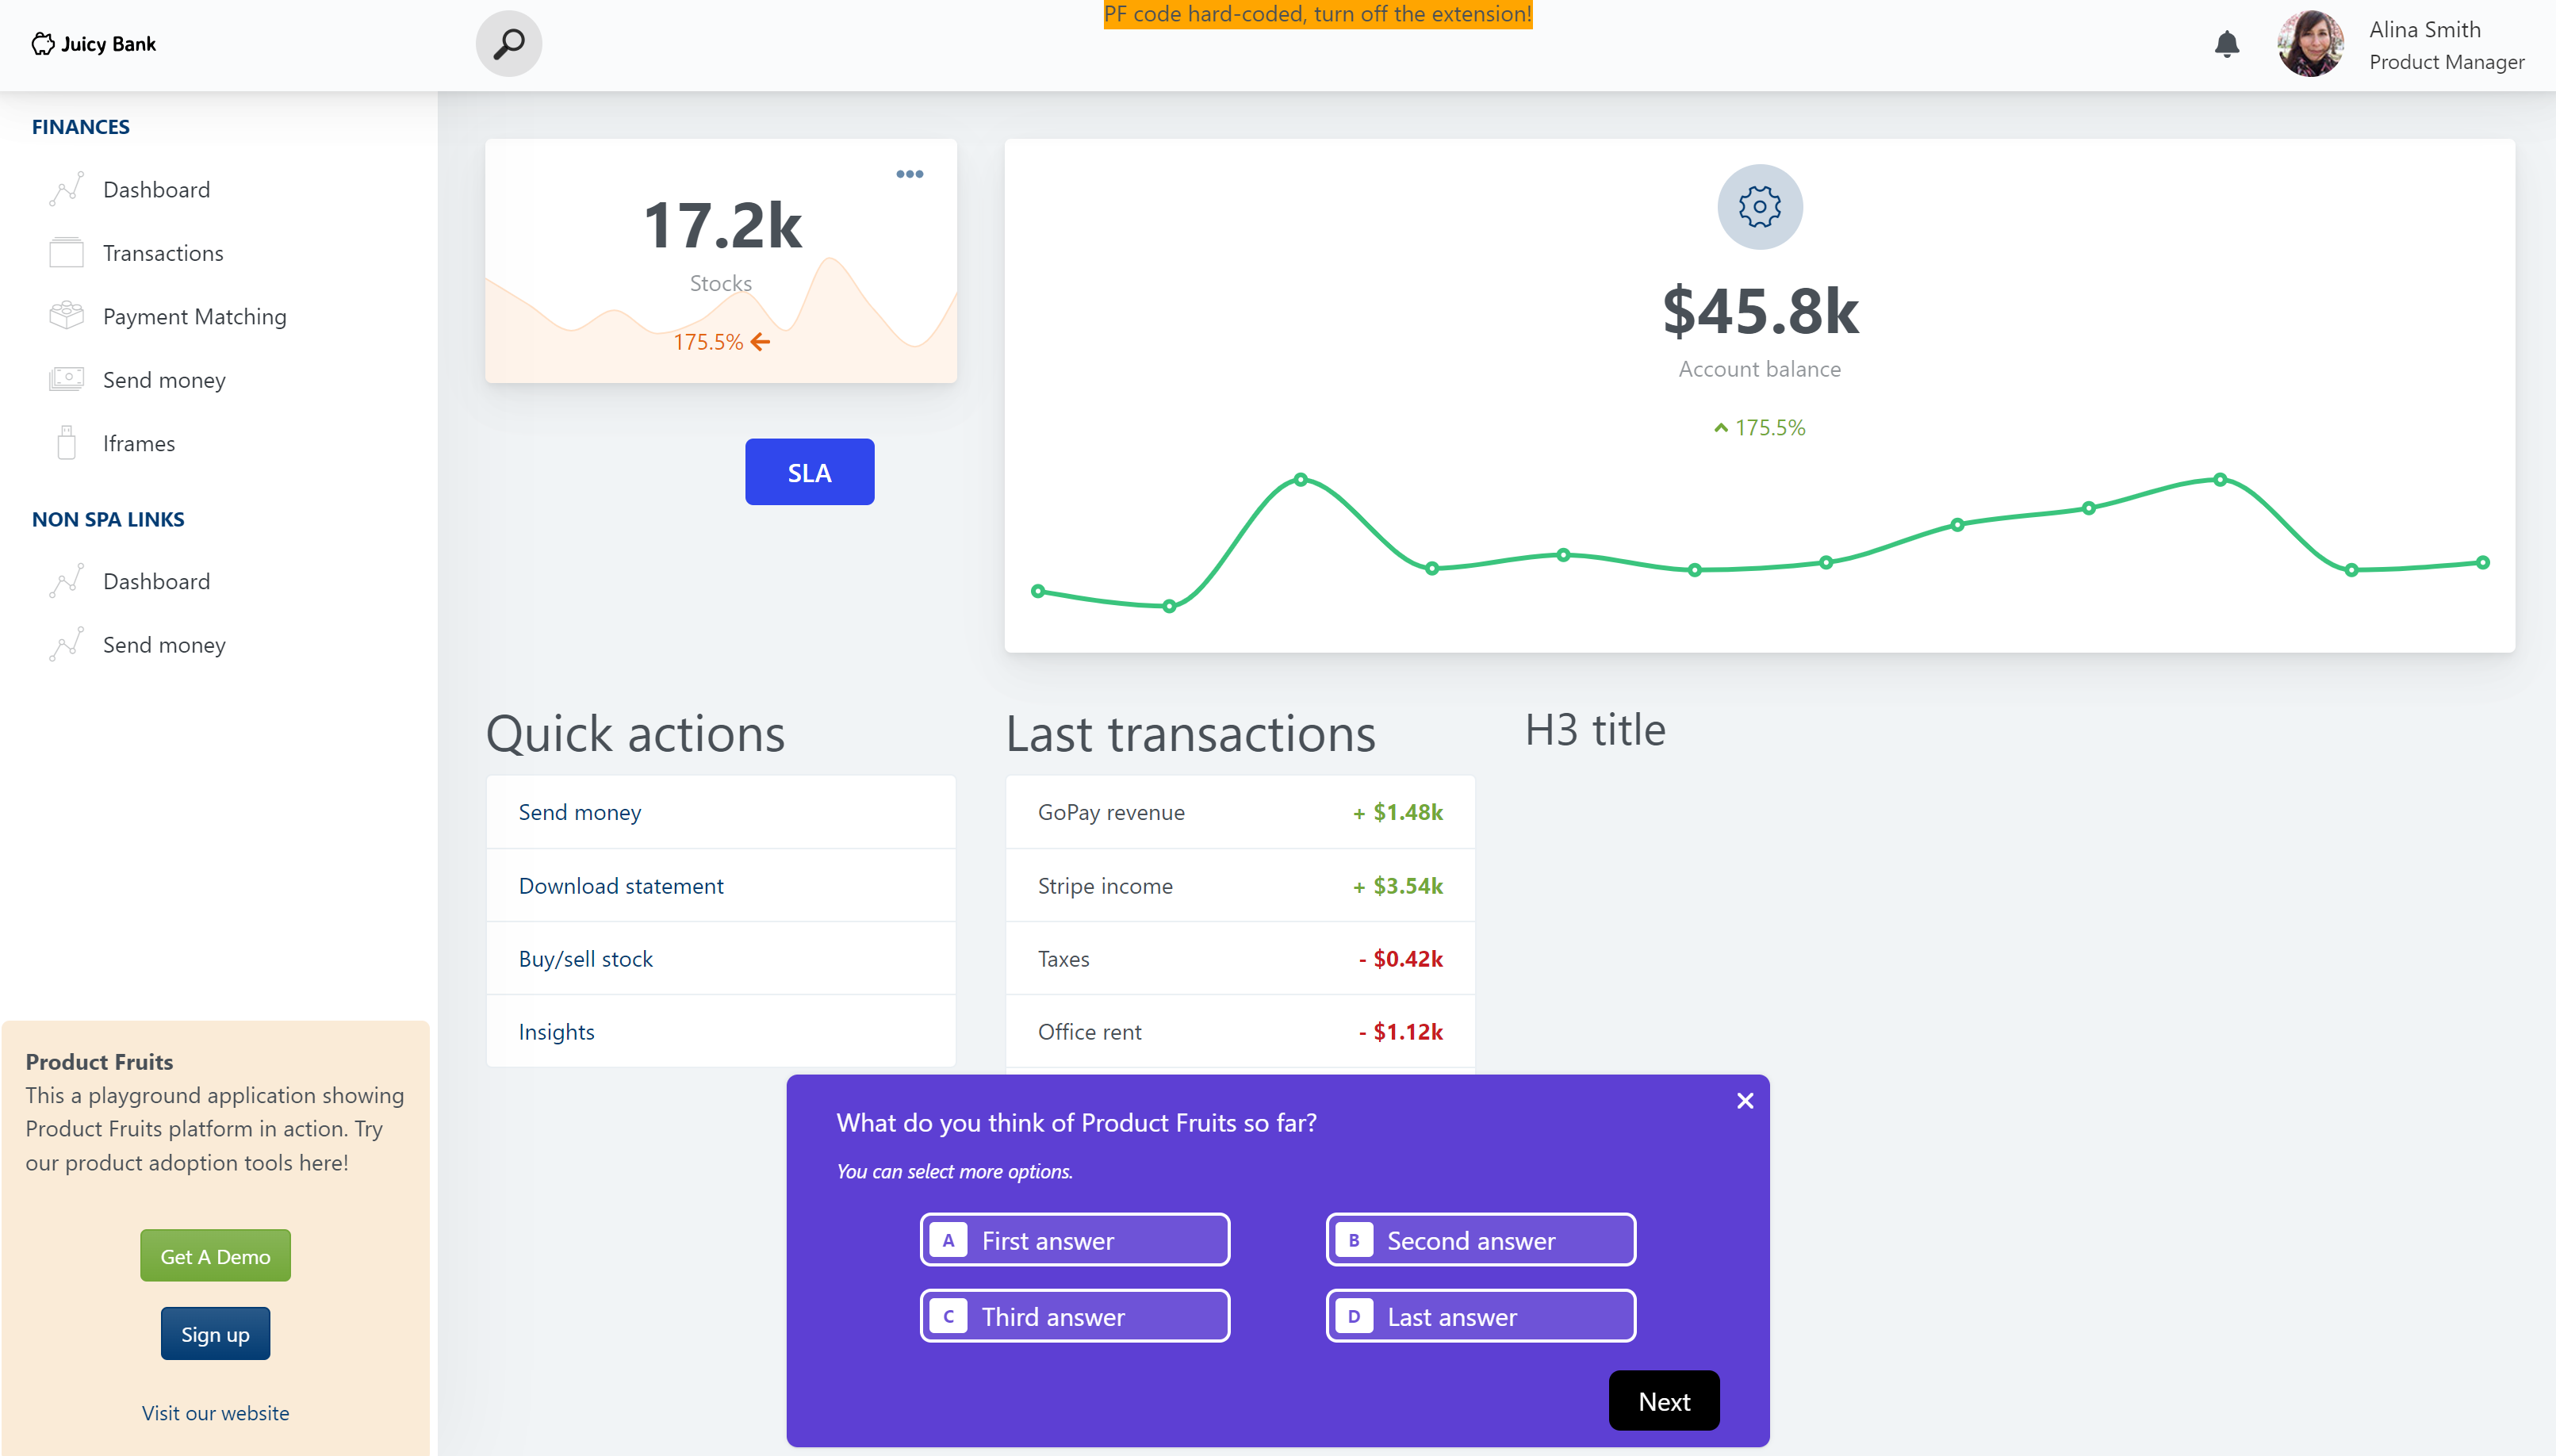
If everything has been set up correctly, you should see your survey appear in your application in a similar fashion as the direct Preview Button shown at the beginning of this article.
Previewing via the Product Fruits Full Installation
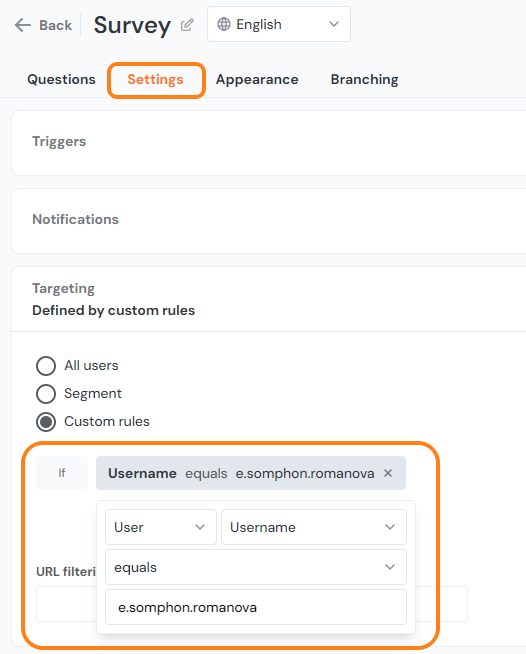
If you already have Product Fruits content showing on your live website, this is a sign that you've installed everything correctly. However, prior to being shown to the general public, a common testing procedure is to launch a feature on the live application while filtering for your own username (or any data/trait specific to your account). This ensures that you're able to view content on the live application while restricting it from other accounts.
To do this simply create a custom rule for the survey and then publish it. The most common testing properties are username or email, but you're free to use any data you choose, such as a first name, last name, or any custom data you've created.
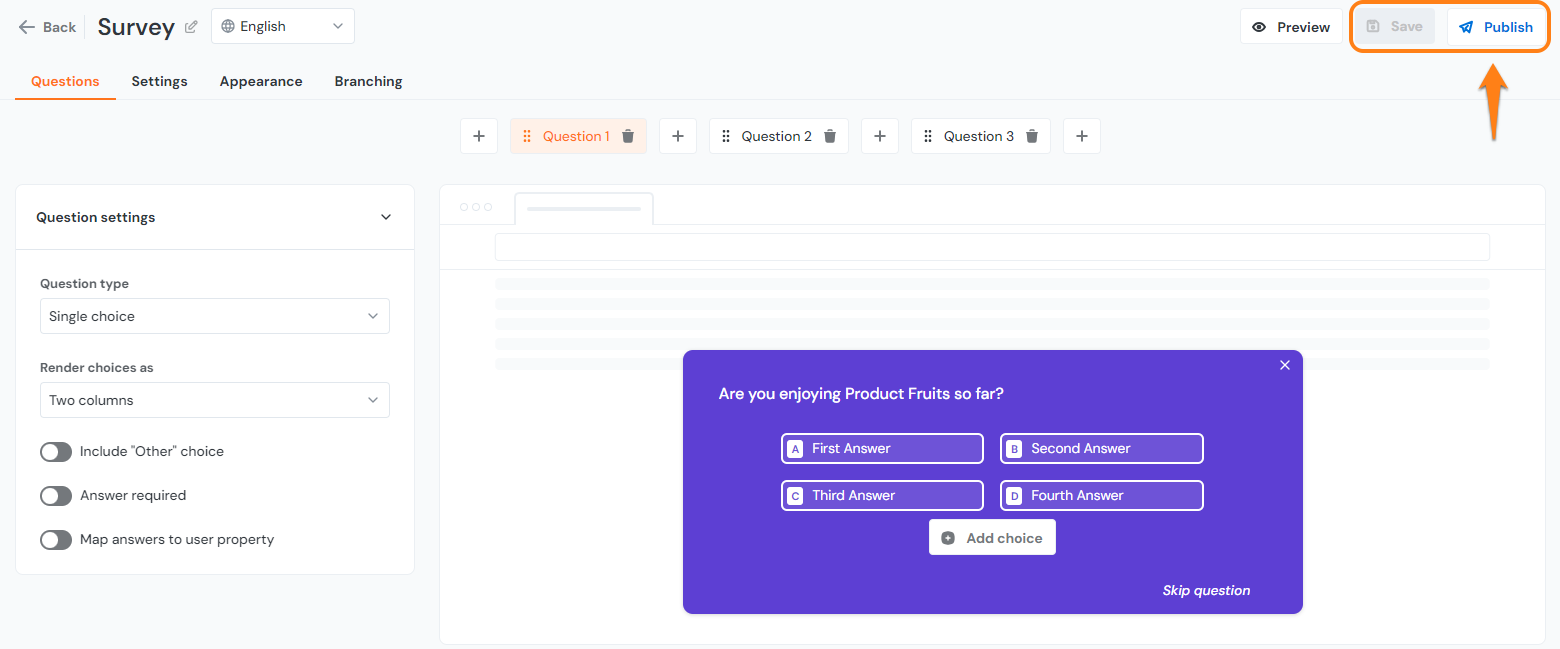
Once again, the survey will need to be published using the Publish button in the top right corner of the Surveys screen.
If all goes well, you should see a result almost identical to Full Preview mode. If you can see content you've previously published in Product Fruits, but not your survey, this implies there is an issue with publishing or the segmentation. Verify that your survey is indeed published by checking if the red "Unpublish" button is showing on the survey page:

If so, the issue is likely related to segmentation. In this case, the 3 primary troubleshooting options are to
1. Verify the data you're passing is correct (username, in the example above). If you are using your username and it doesn't seem to be working, you can verify that the username is correct by opening the debugger and clicking on the user tab to view your username. If you are using other data, you can verify that it is correct by clicking on your username in the tracked users section of your workspace.
2. Try segmenting a different piece of data (email, first name, or last name).
3. Briefly remove segmentation entirely, making it available to all accounts on the live site, to verify that segmentation isn't the issue (if you're able to see the survey on the live site without segmentation, it implies that something was being segmented incorrectly in the previous tests).

